

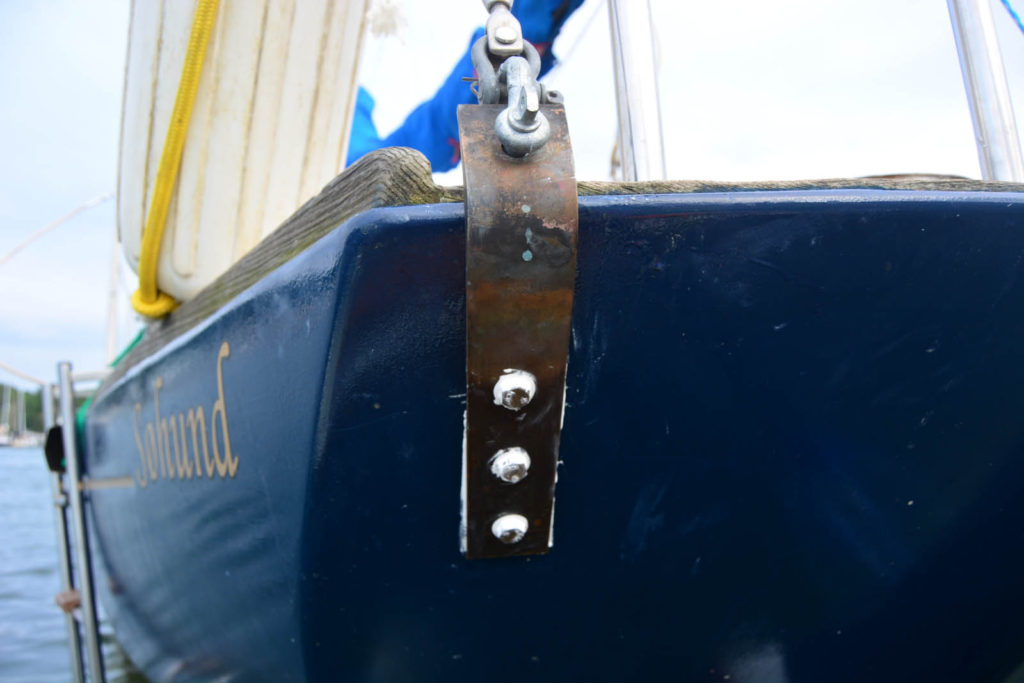
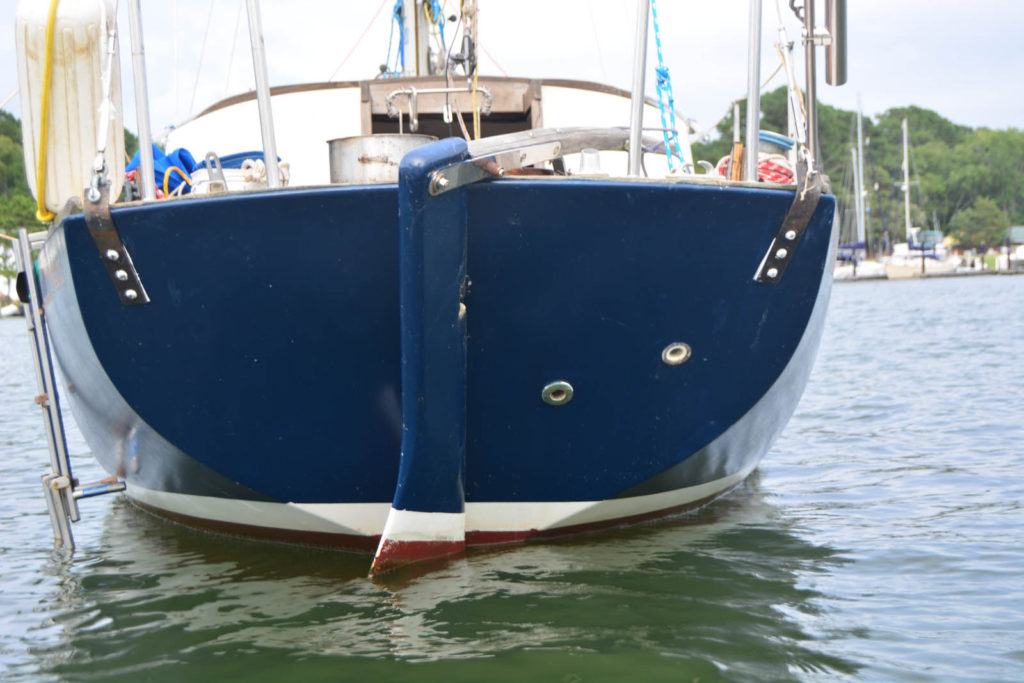
What goes up must come down, they say, and while true of my mood for the majority of time the old adage best not apply to my mast. So, strong chainplates are most certainly in order! Eventually all chainplates, stays, and turnbuckles will be replaced, but I decided to start with the backstay chain plates because they were horrendously undersized, and attached to the hull with only one bolt and a screw.
The side stays are glassed in (whyyyyyyyyy) and the forestay is attached with a pretty strong stainless steel cranse iron. I think bronze is stronger and better than stainless for attaching the forestay and would never go to sea with glassed in chainplates from 1971, but the back stay chainplates were by far the sketchiest so they were first in line.
While the industry standard promotes stainless steel, bronze literally lasts forever. I guess that’s why yachting went in that direction, so the industry could make more money from us by flooding the market with something shiny that needs to be replaced every 10-15 years due to crevice corrosion. On top of that, stainless steel is much harder to work with. It requires a drill press to drill holes, proper tools to polish, and has an involved annealing process to the metal before and after making a bend. That’s why riggers charge upwards of $100 per chainplate for small sailboats. Plus, you can never know if the material is still good years later without a fucking x-ray machine. Again, bring in the rigger!
Stainless steel was not the right material for both long and short term self sufficiency.
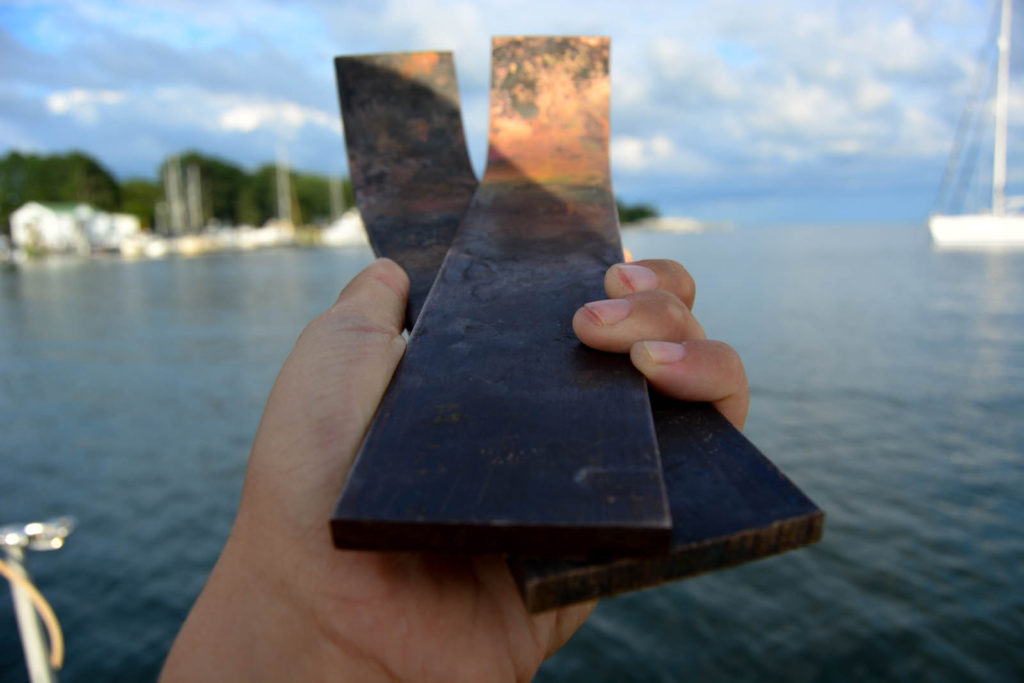
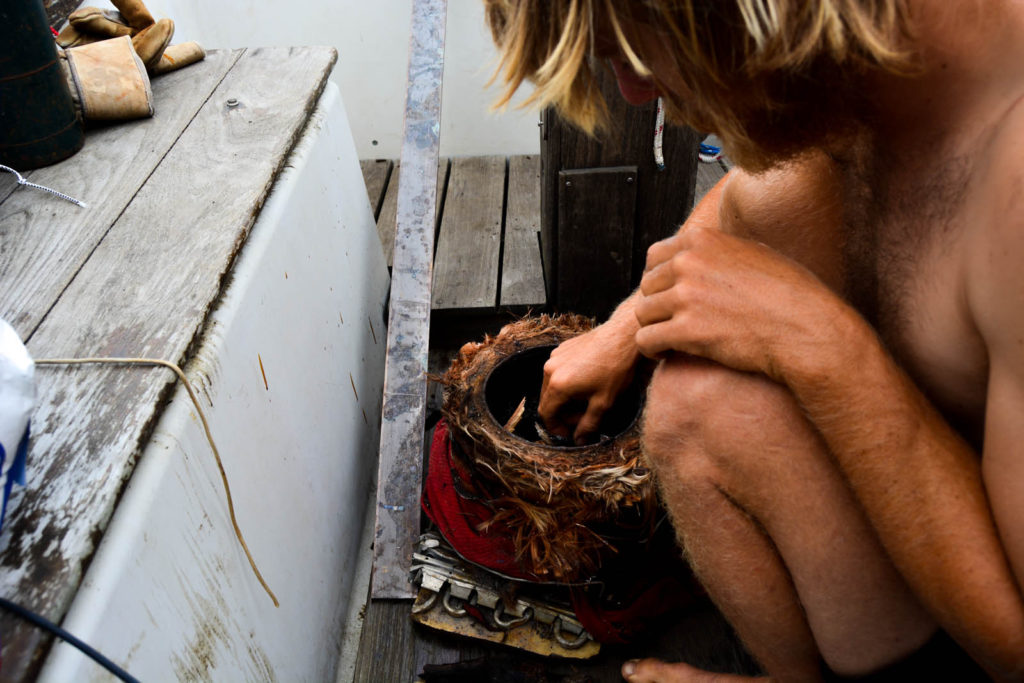
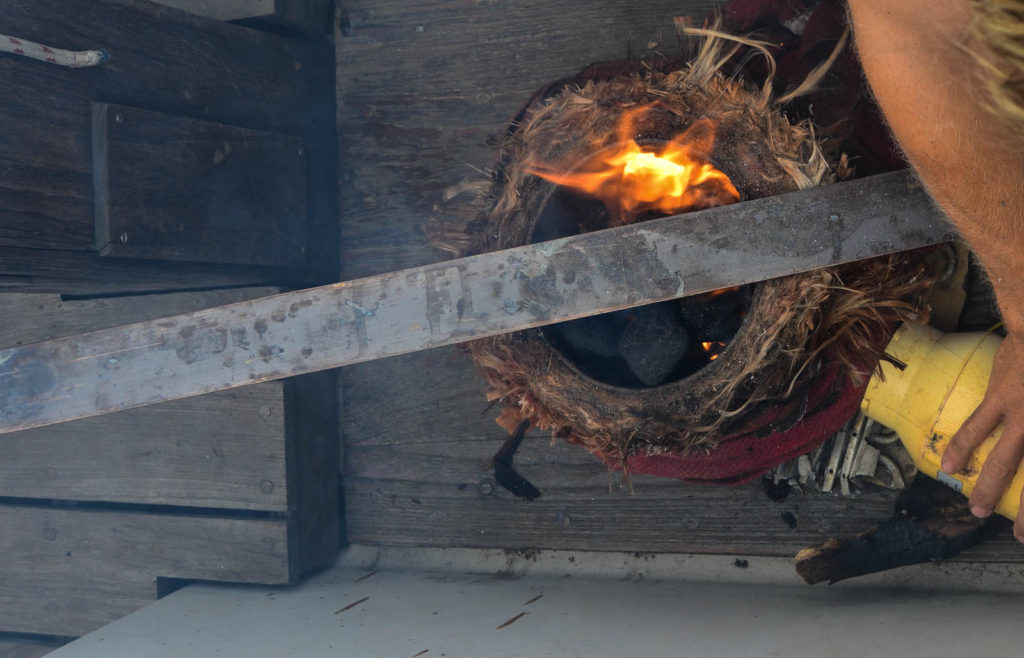
We went with flat bar silicon bronze, a quarter of an inch by two inches. Overkill? Maybe. It was more than sufficient in size, especially when compared to its predecessor. We measured the angle of the bend using a wire and built a fire out of charcoal. We stuck the bronze into the fire until the end we intended to bend was glowing, then we cooled it down in a bucket of sea water and made our first bend which was very slight. We annealed again, cooled, and bent little by little until we reached the angle needed. The annealing process made the bending easier and strengthened the metal after we had literally stretched its innards.
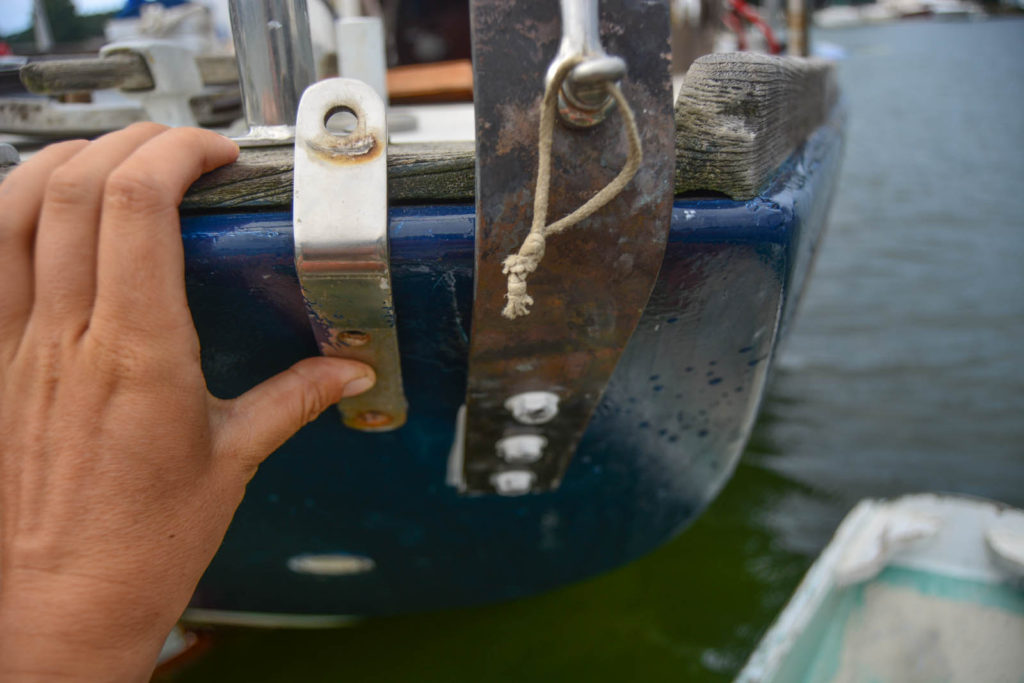
Of course, something had to go wrong. Up until then the process had been relatively painless. Because the turnbuckles and rigging cable are also going to be replaced in the not so distant future, the chainplate had to be sized for a bigger turnbuckle. This meant the current turnbuckle wouldn’t fit, so we fastened the present turnbuckles to large shackles first, and then to the chainplates as a temporary solution.
On the mission to town to get another shackle we stopped by a used marine/antique store that’s only open one day per week for four hours. It was an hour past closing time but the doors were still open. That morning I’d lamented for hours wondering how I was going to get the larger, bronze turnbuckles I’d need for re rigging. The situation was seeming absolutely fruitless with astronomically expensive prices (both new and on Ebay) until we walked into this shop and bought these turnbuckles for three dollars a piece!
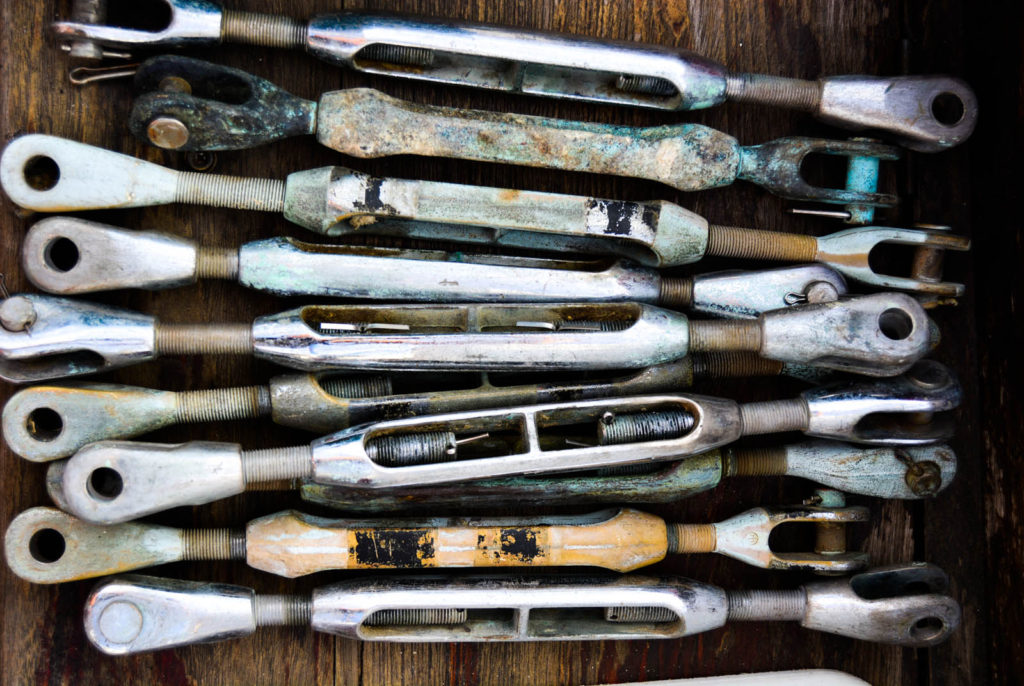
The owner of the shop recognized us from the creek we were anchored in where he happens to live. He complimented Sohund’s lines and was interested to hear about this Danish built sea dog. We didn’t have enough cash on us to pay but he let us take the turnbuckles anyway, and we rowed to his house later with the funds after we had finished installing our new backstay chainplates!
Emily, Nice job on the chain plates. I grew up sailing a similiar boat, a 1965 Kim Holman designed ‘North sea 24’ , larger predecessor to his Twister. Great boat kept us very safe and great sailer. Great score with the bronze turnbuckles too!
Cheers warren
Sounds like a very cool boat I will look it up! Thanks for reading.