DIY Chainplates

making your own chain plates
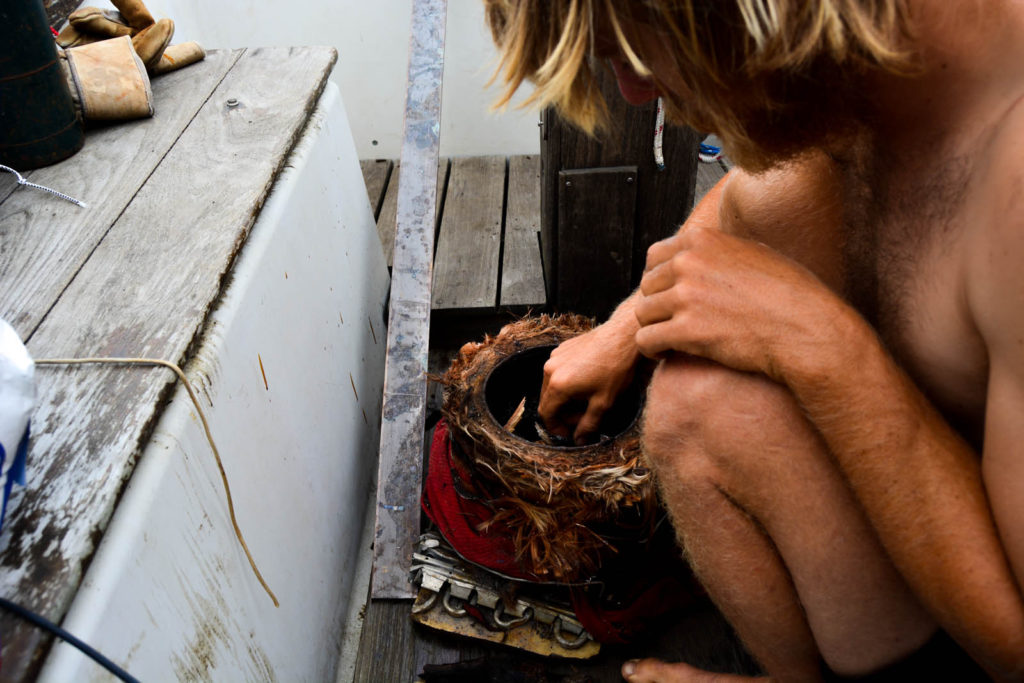
Readying the fire we used to anneal the bronze before bending our backstay chainplates.

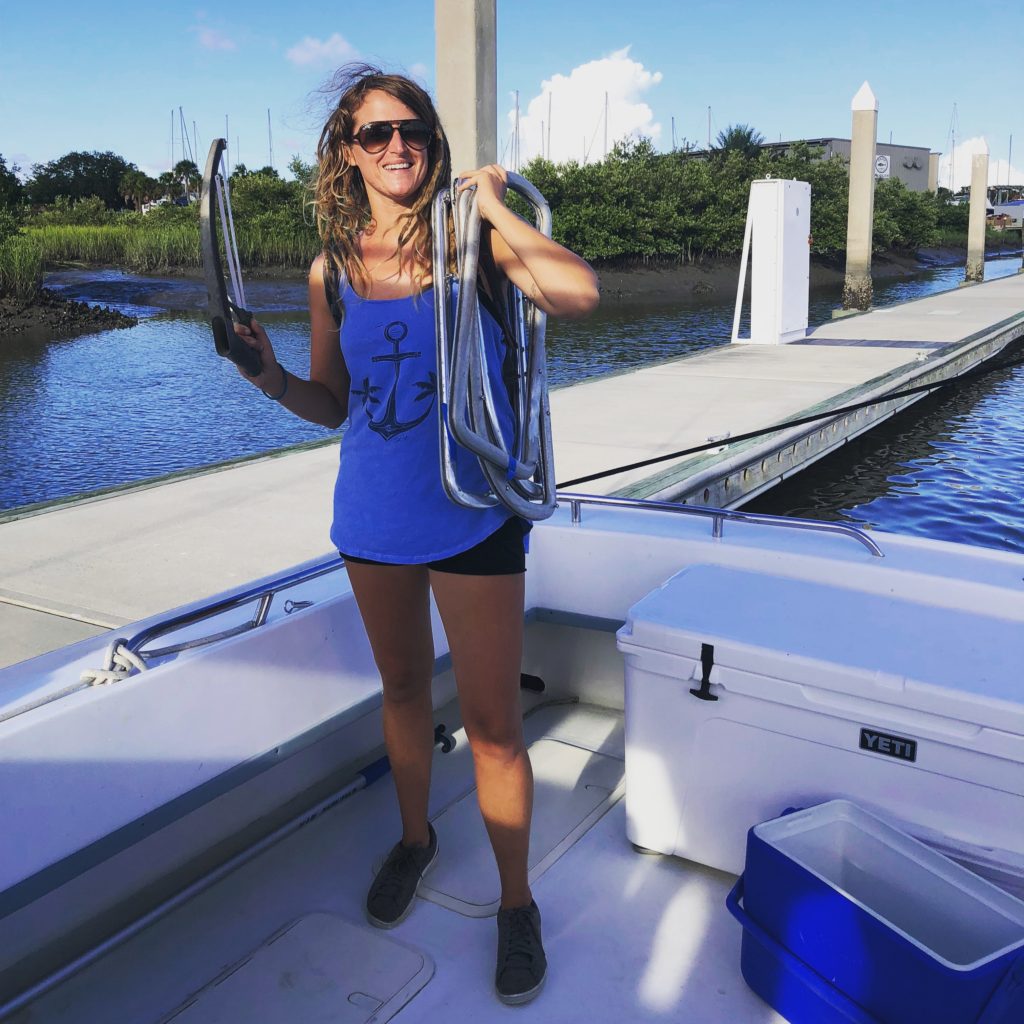
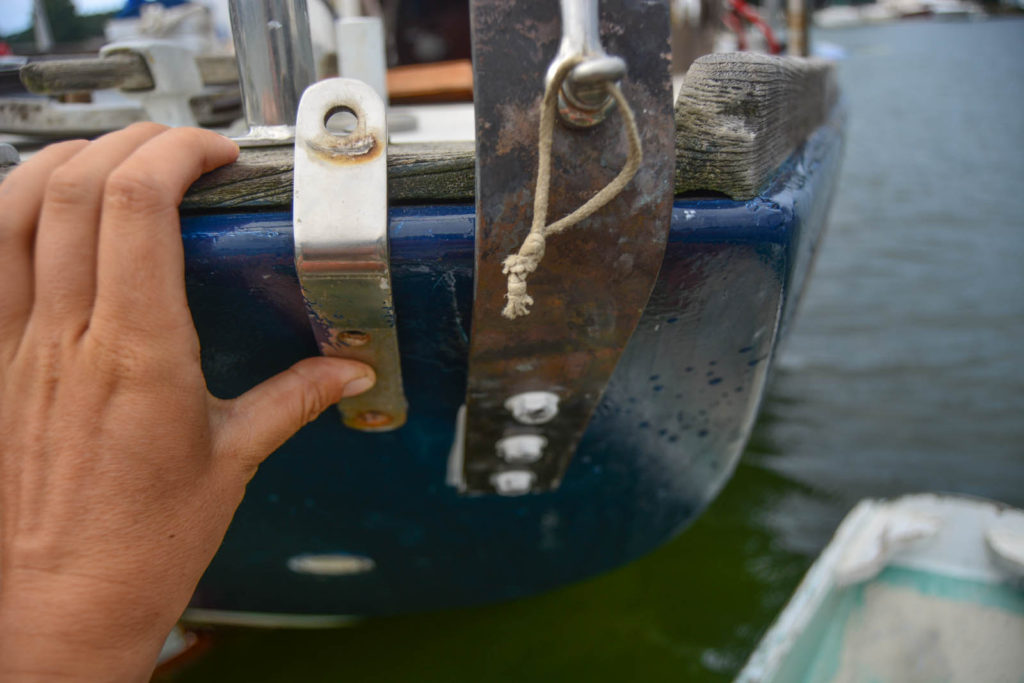
What goes up must come down, they say, and while true of my mood for the majority of time the old adage best not apply to my mast. So, strong chainplates are most certainly in order! Eventually all chainplates, stays, and turnbuckles will be replaced, but I decided to start with the backstay chain plates because they were horrendously undersized, and attached to the hull with only one bolt and a screw.
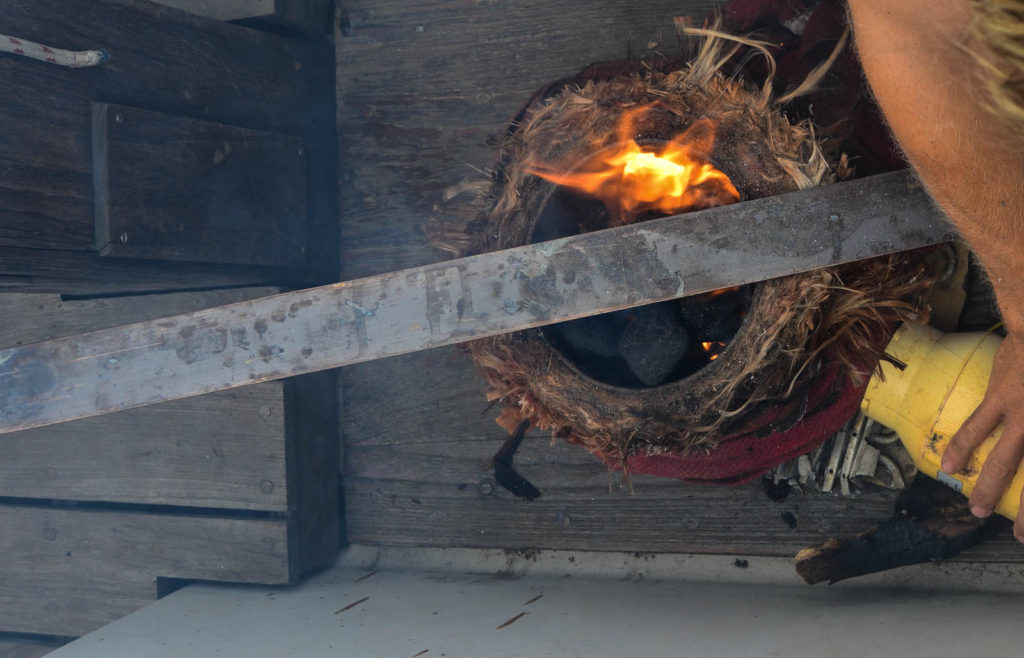
Annealing silicon bronze flatbar
Later we learned it was easier to get the area where we intended to bend red hot by cutting it and sticking it directly in the fire.

The side stays are glassed in (whyyyyyyyyy) and the forestay is attached with a pretty strong stainless steel cranse iron. I think bronze is stronger and better than stainless for attaching the forestay and would never go to sea with glassed in chainplates from 1971, but the back stay chainplates were by far the sketchiest so they were first in line.

While the industry standard promotes stainless steel, bronze literally lasts forever. I guess that’s why yachting went in that direction, so the industry could make more money from us by flooding the market with something shiny that needs to be replaced every 10-15 years due to crevice corrosion. On top of that, stainless steel is much harder to work with. It requires a drill press to drill holes, proper tools to polish, and has an involved annealing process to the metal before and after making a bend. That’s why riggers charge upwards of $100 per chainplate for small sailboats. Plus, you can never know if the material is still good years later without a fucking x-ray machine. Again, bring in the rigger!

Stainless steel was not the right material for both long and short term self sufficiency.
making your own chainplates
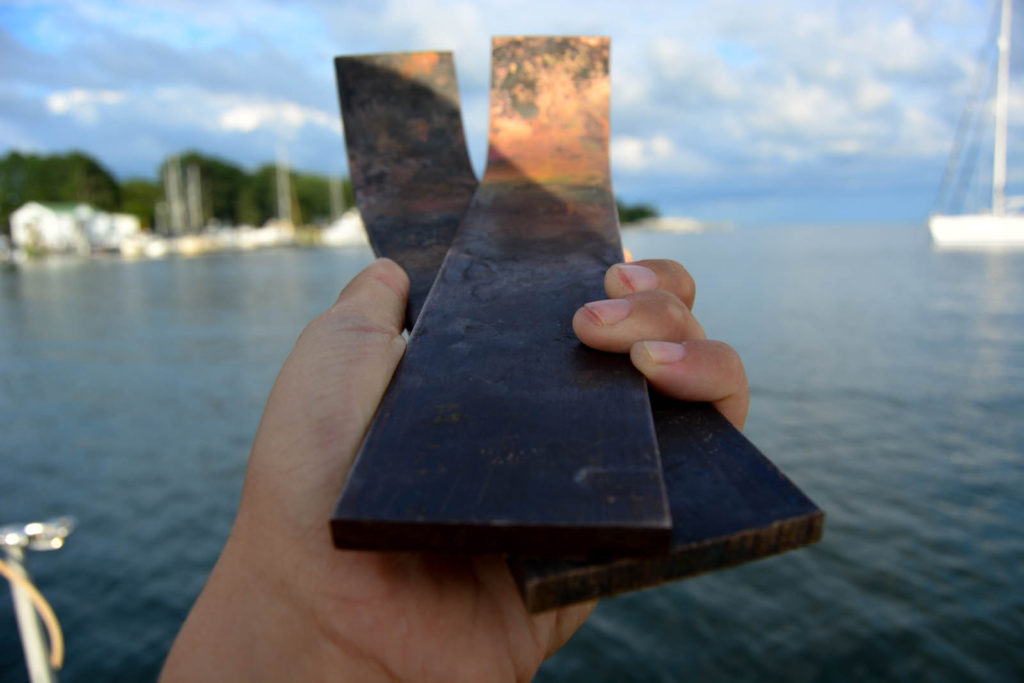
The final product.

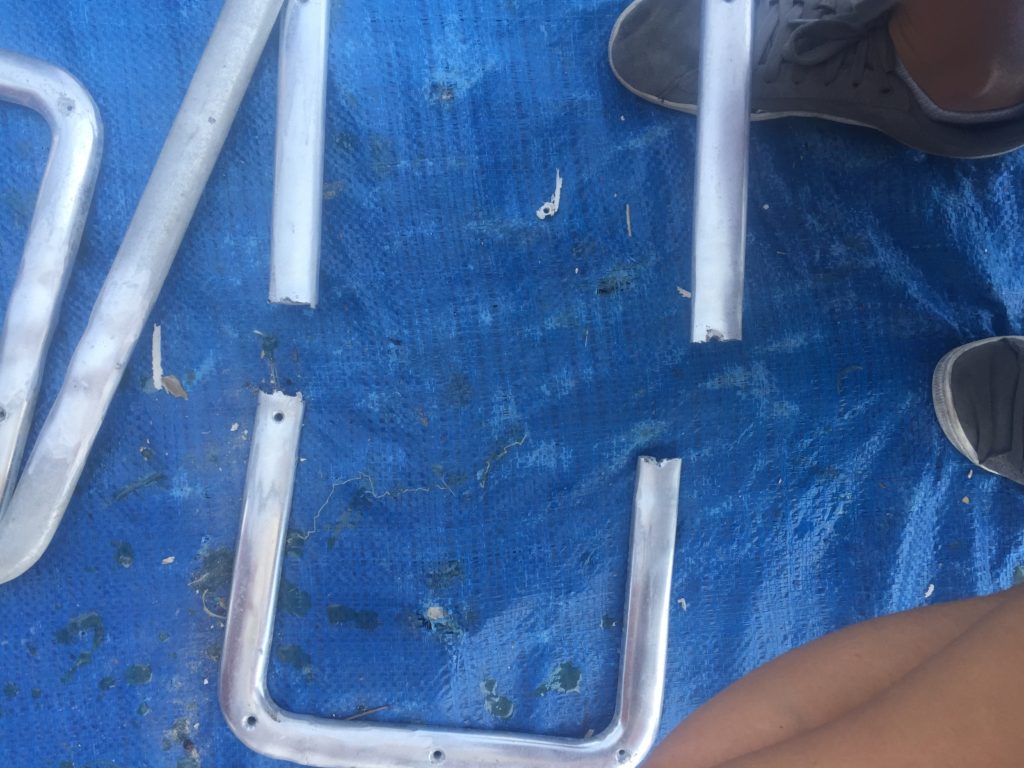
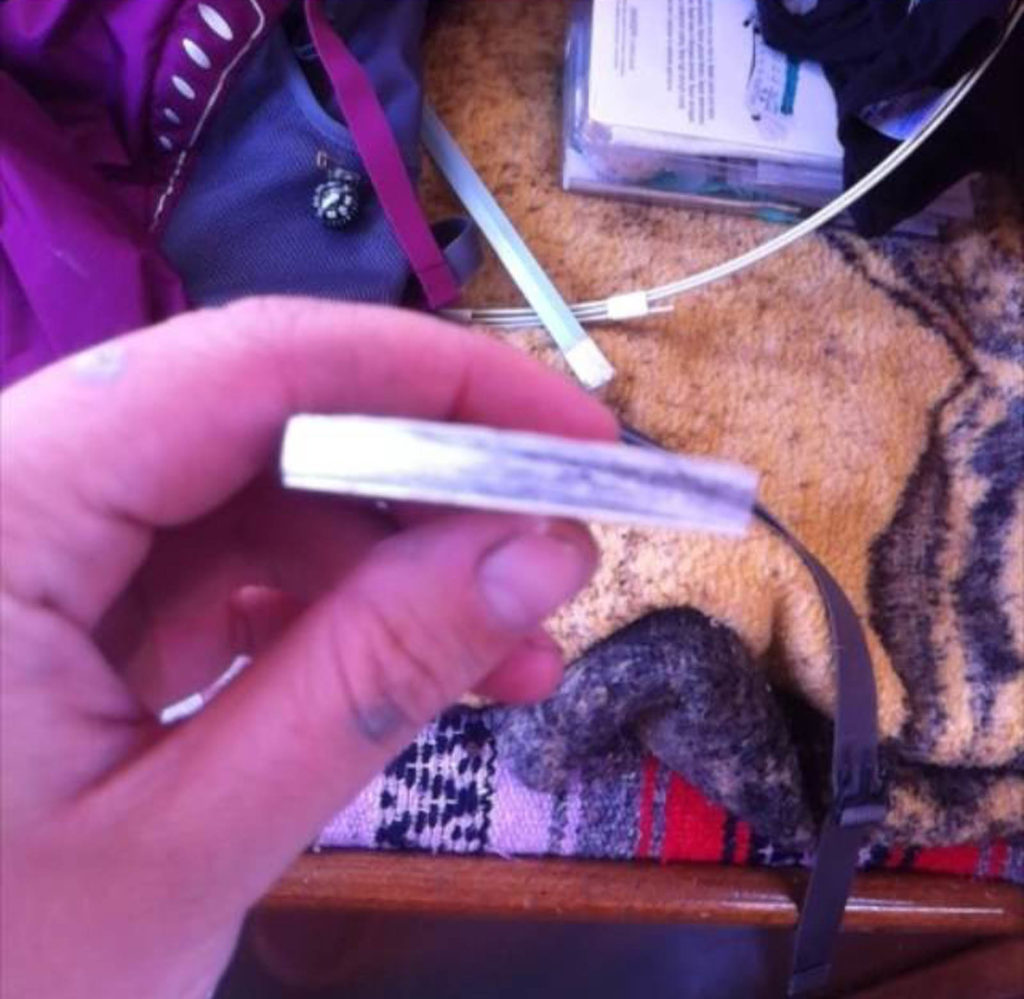
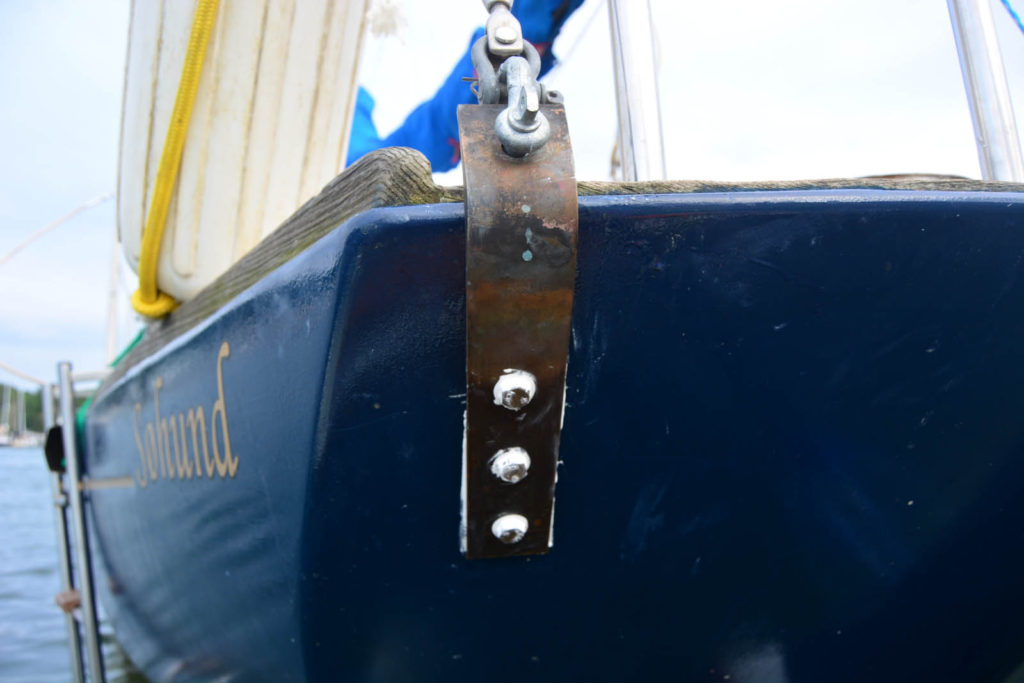
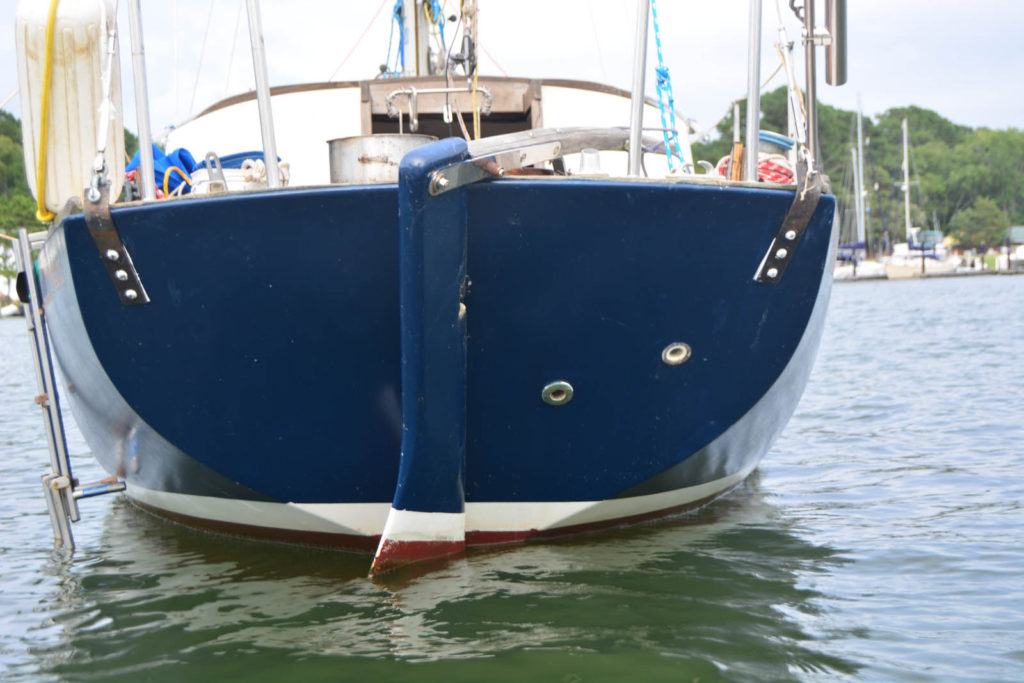
We went with flat bar silicon bronze, a quarter of an inch by two inches. Overkill? Maybe. It was more than sufficient in size, especially when compared to its predecessor. We measured the angle of the bend using a wire and built a fire out of charcoal. We stuck the bronze into the fire until the end we intended to bend was glowing, then we cooled it down in a bucket of sea water and made our first bend which was very slight. We annealed again, cooled, and bent little by little until we reached the angle needed. The annealing process made the bending easier and strengthened the metal after we had literally stretched its innards.
replacing chainplates on your sailboat
New vs. old. Undersized chain plates with only ONE bolt and a screw holding them in place.

Of course, something had to go wrong. Up until then the process had been relatively painless. Because the turnbuckles and rigging cable are also going to be replaced in the not so distant future, the chainplate had to be sized for a bigger turnbuckle. This meant the current turnbuckle wouldn’t fit, so we fastened the present turnbuckles to large shackles first, and then to the chainplates as a temporary solution.
making your own chainplates on a sailboat

On the mission to town to get another shackle we stopped by a used marine/antique store that’s only open one day per week for four hours. It was an hour past closing time but the doors were still open. That morning I’d lamented for hours wondering how I was going to get the larger, bronze turnbuckles I’d need for re rigging. The situation was seeming absolutely fruitless with astronomically expensive prices (both new and on Ebay) until we walked into this shop and bought these turnbuckles for three dollars a piece!

re rigging your sailboat
Treasure!

The owner of the shop recognized us from the creek we were anchored in where he happens to live. He complimented Sohund’s lines and was interested to hear about this Danish built sea dog. We didn’t have enough cash on us to pay but he let us take the turnbuckles anyway, and we rowed to his house later with the funds after we had finished installing our new backstay chainplates!
making your own chain plates
One step closer to seaworthiness !

Rebedding the Portlights

Like the look of those classic Alberg windows? Turns out they’re a pain in the ass to work with!

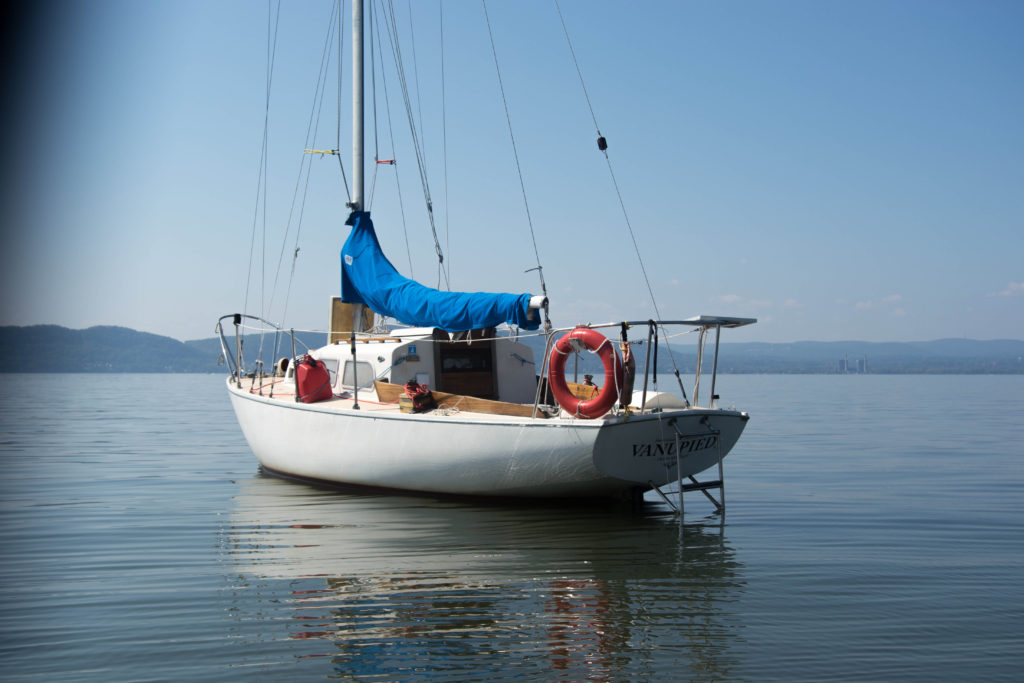
I’m not the biggest fan of the signature Alberg windows. They seem too large to be fit for sea. If I were preparing Vanupied, my Pearson Ariel 26, to cross an ocean I would definitely glass in those gigantic holes and put in smaller, opening port lights. I’m not preparing my boat to cross an ocean, but I am essentially preparing her for the sea and island hopping, so my windows needed some work.

rebedding portlights, rebedding windows pearson ariel, alberg design windows

I first discussed my window problem with my friend Russell who I met while on a delivery of an Endeavour 43. Russell and his wife have sailed the world on their Kelly Peterson 44, “Blue Highway.” I was telling Russell about some cracks in the aluminum window frame. The conversation went something like this:

“How structural is it?”

“Pretty structural.”

“Can I just put some epoxy onto the cracks?”

“I wouldn’t. You should really get it welded.”

“I don’t have any money to pay a welder!”

I put “properly fix windows” on the list. Plus, they were leaking pretty badly and it was time for rebedding. I met Oliver by chance at a party at the yacht club. He’s a welder, a sailor, and my exact age. He recently sold his small sailboat that he lived on and sailed extensively! Even if no one else wanted to go out, Oliver was down whatever the weather. Living on land now he recently quit working for the man and went for it with his own business. Because he does excellent work for majorly nice yachts to earn the majority of his income, Oliver was more than willing to help a sailor out for a very reasonable price!

But first I had to remove them. The frames were held together by bolts using the tap and die method. I didn’t have a big enough screw driver for the bolts, so I set out in search of one in the boatyard. Skip, a friend of a friend, came through. Later he came to check on how the job was going.

“They’re seized,” I said. “Got an impact driver?”

He did, in fact have an impact driver, but many of the bolt’s heads were stripped or quickly became so. The impact driver required someone to use the entire force of their body to get a single bolt to even budge! Even Skip who is six feet tall, 250 pounds, and has 40 years of experience with fixing things was having a hell of a time! It took a long time, and a lot of Skip’s sweat but we finally got the windows removed. One frame broke into three pieces! I was definitely glad to be getting these fixed up. Off to the welder it went.

What fun!

Because the aluminum was soft to begin with, and fifty years old, it turned out to be a hell of a job welding the windows as well. It’s a good thing Oliver loves a welding challenge. Meanwhile, I covered up the holes for the windows with heavy duty plastic wrap and duct tape. This turned out to be a pretty terrible idea because as soon as the sun hit the duct tape it basically became permanent. It took hours spanning two days with a sander and paint thinner on the deck in the hot Florida sun to get that off!

A job weld done! Thanks, Oliver!

Once I got the windows back, they continued to be a pain in the ass. Skip continued to help me with the reinstall. When removing the frames we had broken a few bolts that were now stuck inside the holes, so we decided to drill new holes and tap new threads for those bolts. But threading the old aluminum was basically impossible. We broke all of our taps. Then we decided to through bolt the frames, and wondered why we hadn’t thought of this all along! We continued to break things like bits, nuts, and bolts. There were three trips to the hardware store in one day.

We finally got the windows back in! Not only are they leak free now, but they are much stronger thanks to the welds and the through bolts. Windows are all through bolted these days on boats. Sometimes the modern way can be better and stronger!

If you are traveling on the ICW and need some welding done in and around northern Florida, contact Oliver Heckscher at Weld Done- Mobile Metalworks & Fabrication. Huge thanks to Skip & Oliver for makin’ it happen! 

The Do’s & Don’ts of Glassing in your Through Hulls

glassing in your through hulls

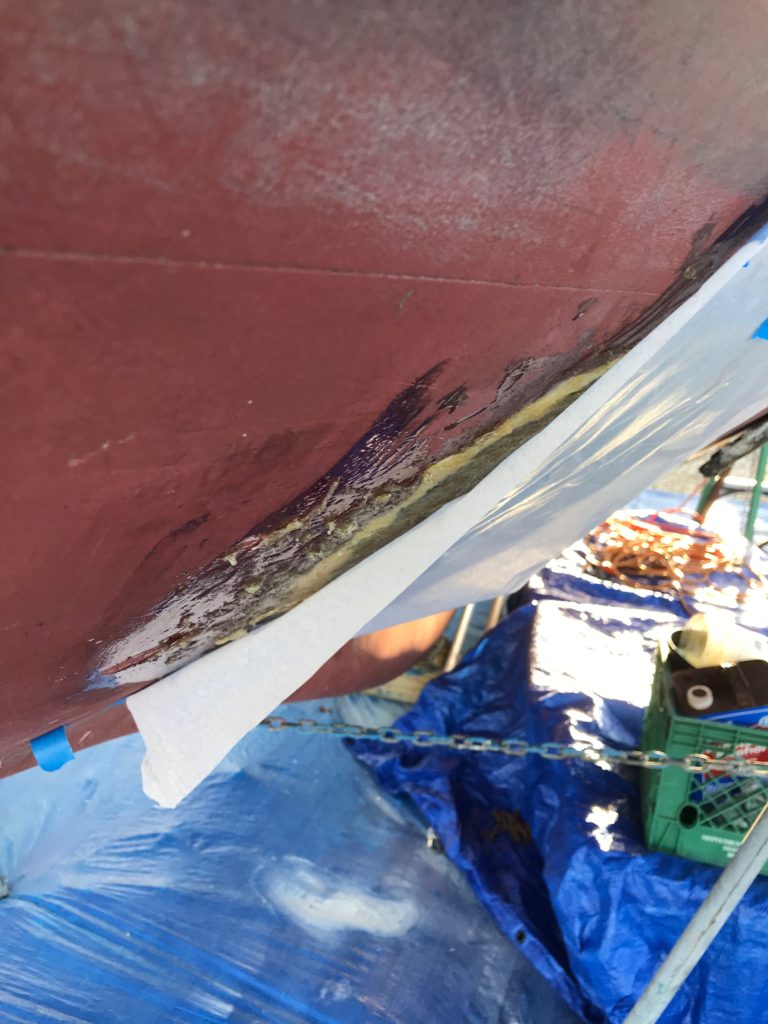
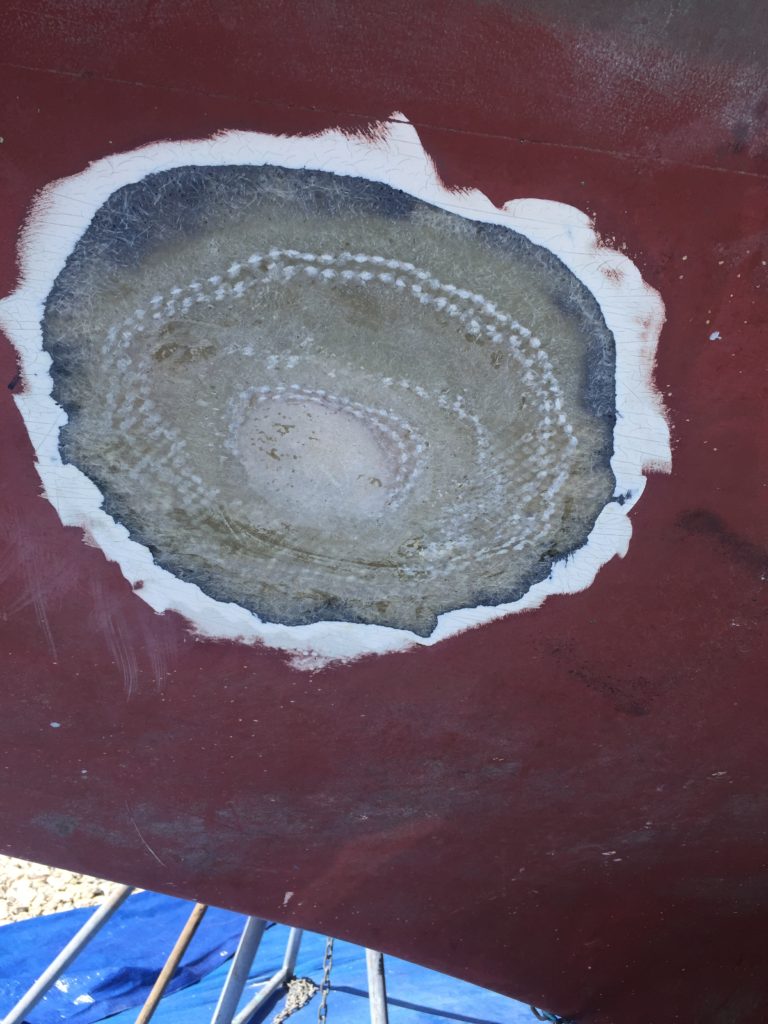
DO realize it’s all in the prep. You’ll be grinding through the ‘ole anti fouling, gelcoat, and fiberglass to create a bevel 8 x 12 times the thickness of your hull.

DO pre cut fiberglass cloth and pre measure epoxy resin before beginning.

glassing in your through hulls
Mixin’ up the medicine

DO text your boat neighbor every time you mix and lay up a new batch of resin and fiberglass, especially when things have gone horribly wrong.

DO point to your freshly laid and perfectly placed fiberglass patch and say “No, I don’t think so,” when someone comes over unsolicited and says “I saw your repair on the other side and thought you could use some advice.”

Steep learning curve, aye?

DO ask anyone and everyone in the boatyard to touch your fully cured resin just to “make sure it’s actually hard.”

DO cover up any poor craftsmanship until you can sand. You don’t want anyone to see your quality of work unless you’ve invited them to.

Nothing to see here…

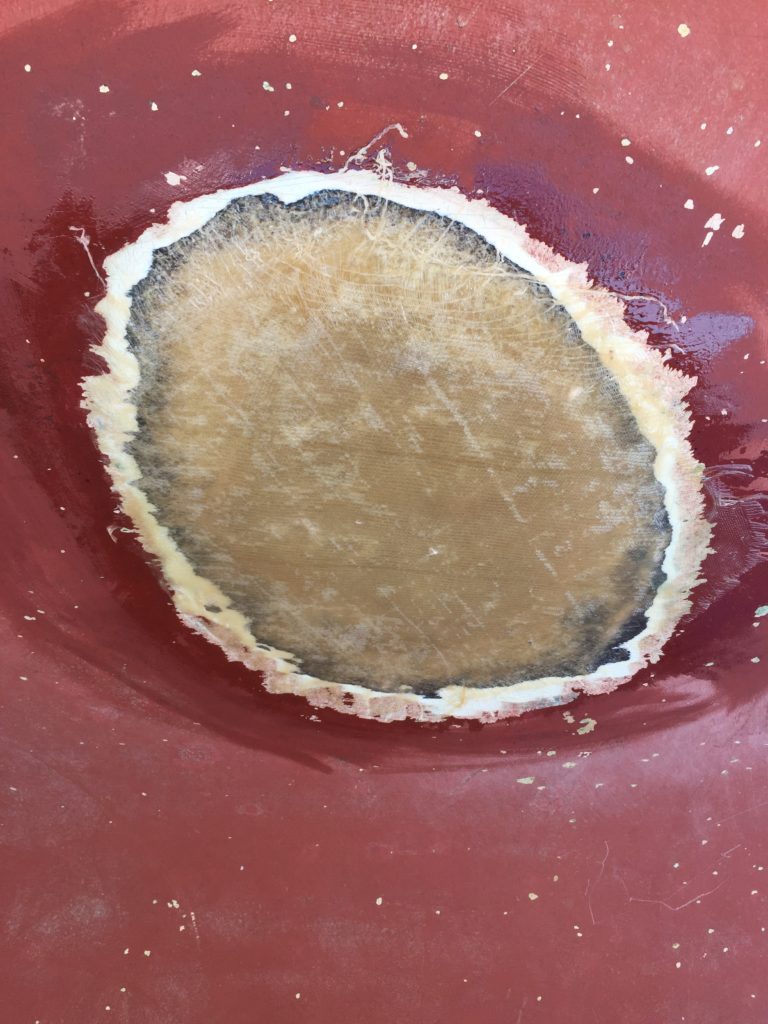
DON’T mess up your resin to hardener ratios or you’ll have to sand off all of the thickened epoxy you mixed to a perfect consistency and laid on as filler for the holes.

DON’T lay on your patches big to small after someone in the boatyard tells you to do so. Even though some of the books says big to small is structurally more sound, small to big is equally as solid and is much easier to work with. Trust me, I’m a proffesional.

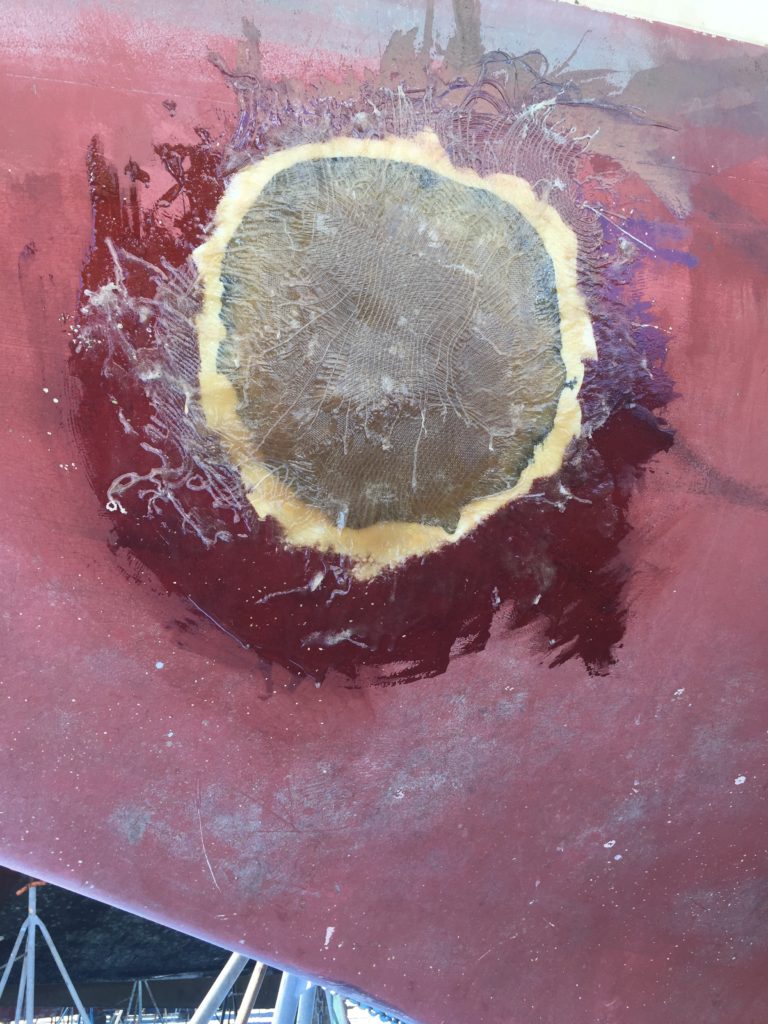
DON’T over saturate your fiberglass cloth. Make sure you squeegee excess resin out before you lay a piece onto the hull. If you don’t you will have a huge mess that is very hard to clean up, especially after it’s cured. I spent two hours sanding and grinding off excess epoxy resin in a full body suit, in 90 plus degree heat.

The epoxyclypse

DON’T forget to put a finishing cloth on top. If working with bi axel fiberglass cloth, which is the recommended kind to use, you will want to put a layer of thin woven roving on top for a perfect finish!

DON’T get discouraged. That item on the to-do-list that reads “Glass in Through Hulls” actually has about 1,000 bullet points within it, so…

DON’T fart in your Tyvek suit when comes time to sand. Just don’t.

Want more info on how exactly I glassed in my through hulls fittings? Stay tuned for “How Not to Glass in your Through Hulls.” A step by step guide on what I did, so you can avoid it. 

Fixing a hole where the rain gets in

live aboard, learning to fix your boat, budget sailorIt’s a half hour past sunset and I’m messing with my rigging. Ripping out cotter pins, tightening and loosening turnbuckles. I don’t know what’s come over me. I’m inherently the laziest person on earth. The fact that I even get out of bed in the morning is a wonder to me.  But somewhere along this journey I’ve taken a genuine interest in actually doing something. Fixing stuff with my own two hands. Using saws, hammers, power drills, and lots of hand scrapers.

On any given day I have no idea what will happen. I think in the morning that I have a general one, and then something completely different ensues. Today I went into town for some provisions, odds and ends for the boat. After that I planned to lay my first coat of varnish (weather permitting), and finally get those bloody battens taken care of. The day had other plans.

living at the dock, learning how to fi your boat, budget sailboat

I borrowed a shop vac from the boatyard to suck up the years of accumulated muck I’d sanded off my wood. I managed to get the oversized thing up the ladder, but when I saw my French boatyard friend Alex I asked if I could hand it down to him.

He’d been wanting to have a look at the boat for a while so he came onboard for the five second tour. She’s only 24 feet after all. Looking at my newly painted companionway I noticed a leak.

“What IS that?” I said flabbergasted.

“That’s water,” he said.

We started talking about the nature of leaks and how yes, they are a nuisance, but can be detrimental to the integrity of the boat’s structure. They can be especially bad for boats in northern latitudes as the water trapped inside the deck freezes.

“But if you head south this year, you won’t have to worry about winter,” he said.

learning how to fix your boat, live aboard sailor girl

I had two choices. I could try and fix the damn thing, wait until Fall to try and fix the damn thing, or just let my boat slowly rot right before my eyes. I chose to try and fix the damn thing.

I didn’t know what I was doing. I had a few minutes of guidance until Alex went to work on his broken inboard diesel engine, and I was left to my own devices with a screwdriver and a chisel. I got the tracks for the sliding hatch off, and then the hatch itself. I was feeling pretty amazed and surprised that I’d actually figured it out. In my glory, however, I didn’t realize the entire contents of the project were covered in silicone. That menace to society. The ultimate contaminant. The worst sealant for a boat.

Two and a half hours later I was still scraping silicone.

I finished, finally. Just in time for a shower and a meal before sunset. I can’t seem to get my hands clean. I crawl into the boat and have a dance with two mosquitos. I relax into the settee and wonder what tomorrow will bring.

Drilling holes in your boat

Installing a manual bilge pump, whale gusher titan, bristol 24

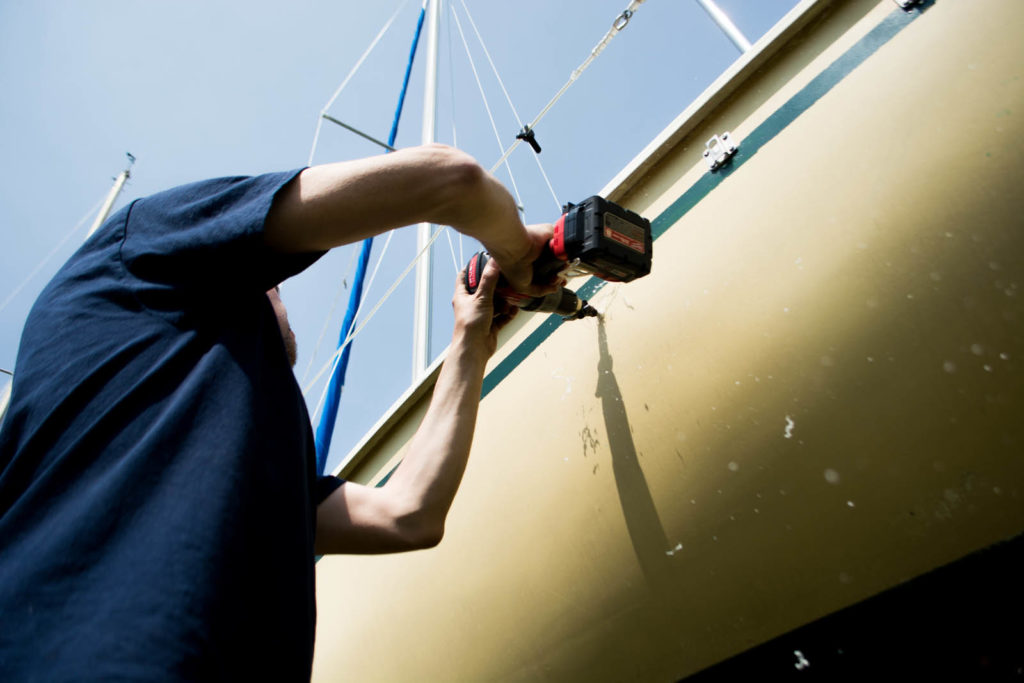
The count for holes drilled in my boat now totals six. I’m not an expert, but I’ve got it down to a system. First I visualize the holes, draw a diagram that looks like a five year old did it, then I mark them. Then I have an eerie calm wash over me, and right around bed time I start to freak out and send massive amounts of text messages to boat friends in a panic, and scour the internet for information for the umpteenth time. Finally I head to the bathroom and take a nervous shit. The next day, I drill (or make someone else do it will I sweat over their shoulder).

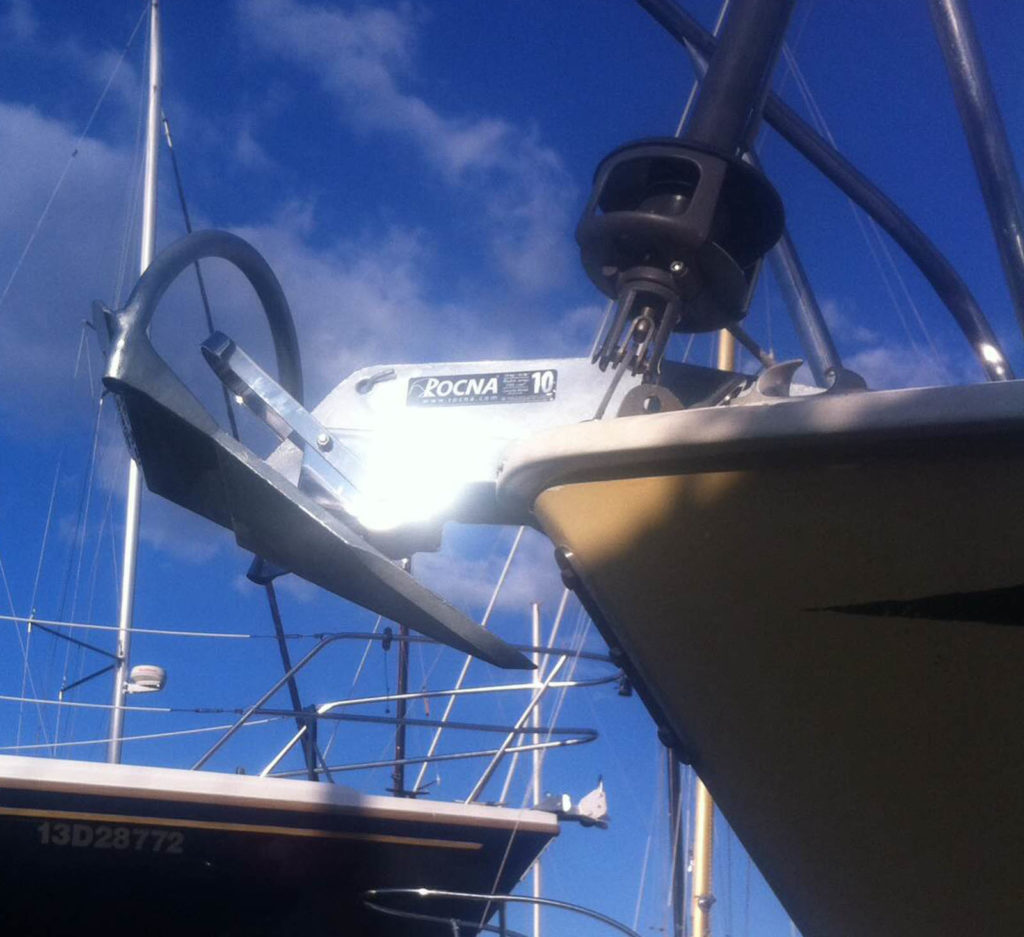
rocna anchor, rock solid, installing a rocna

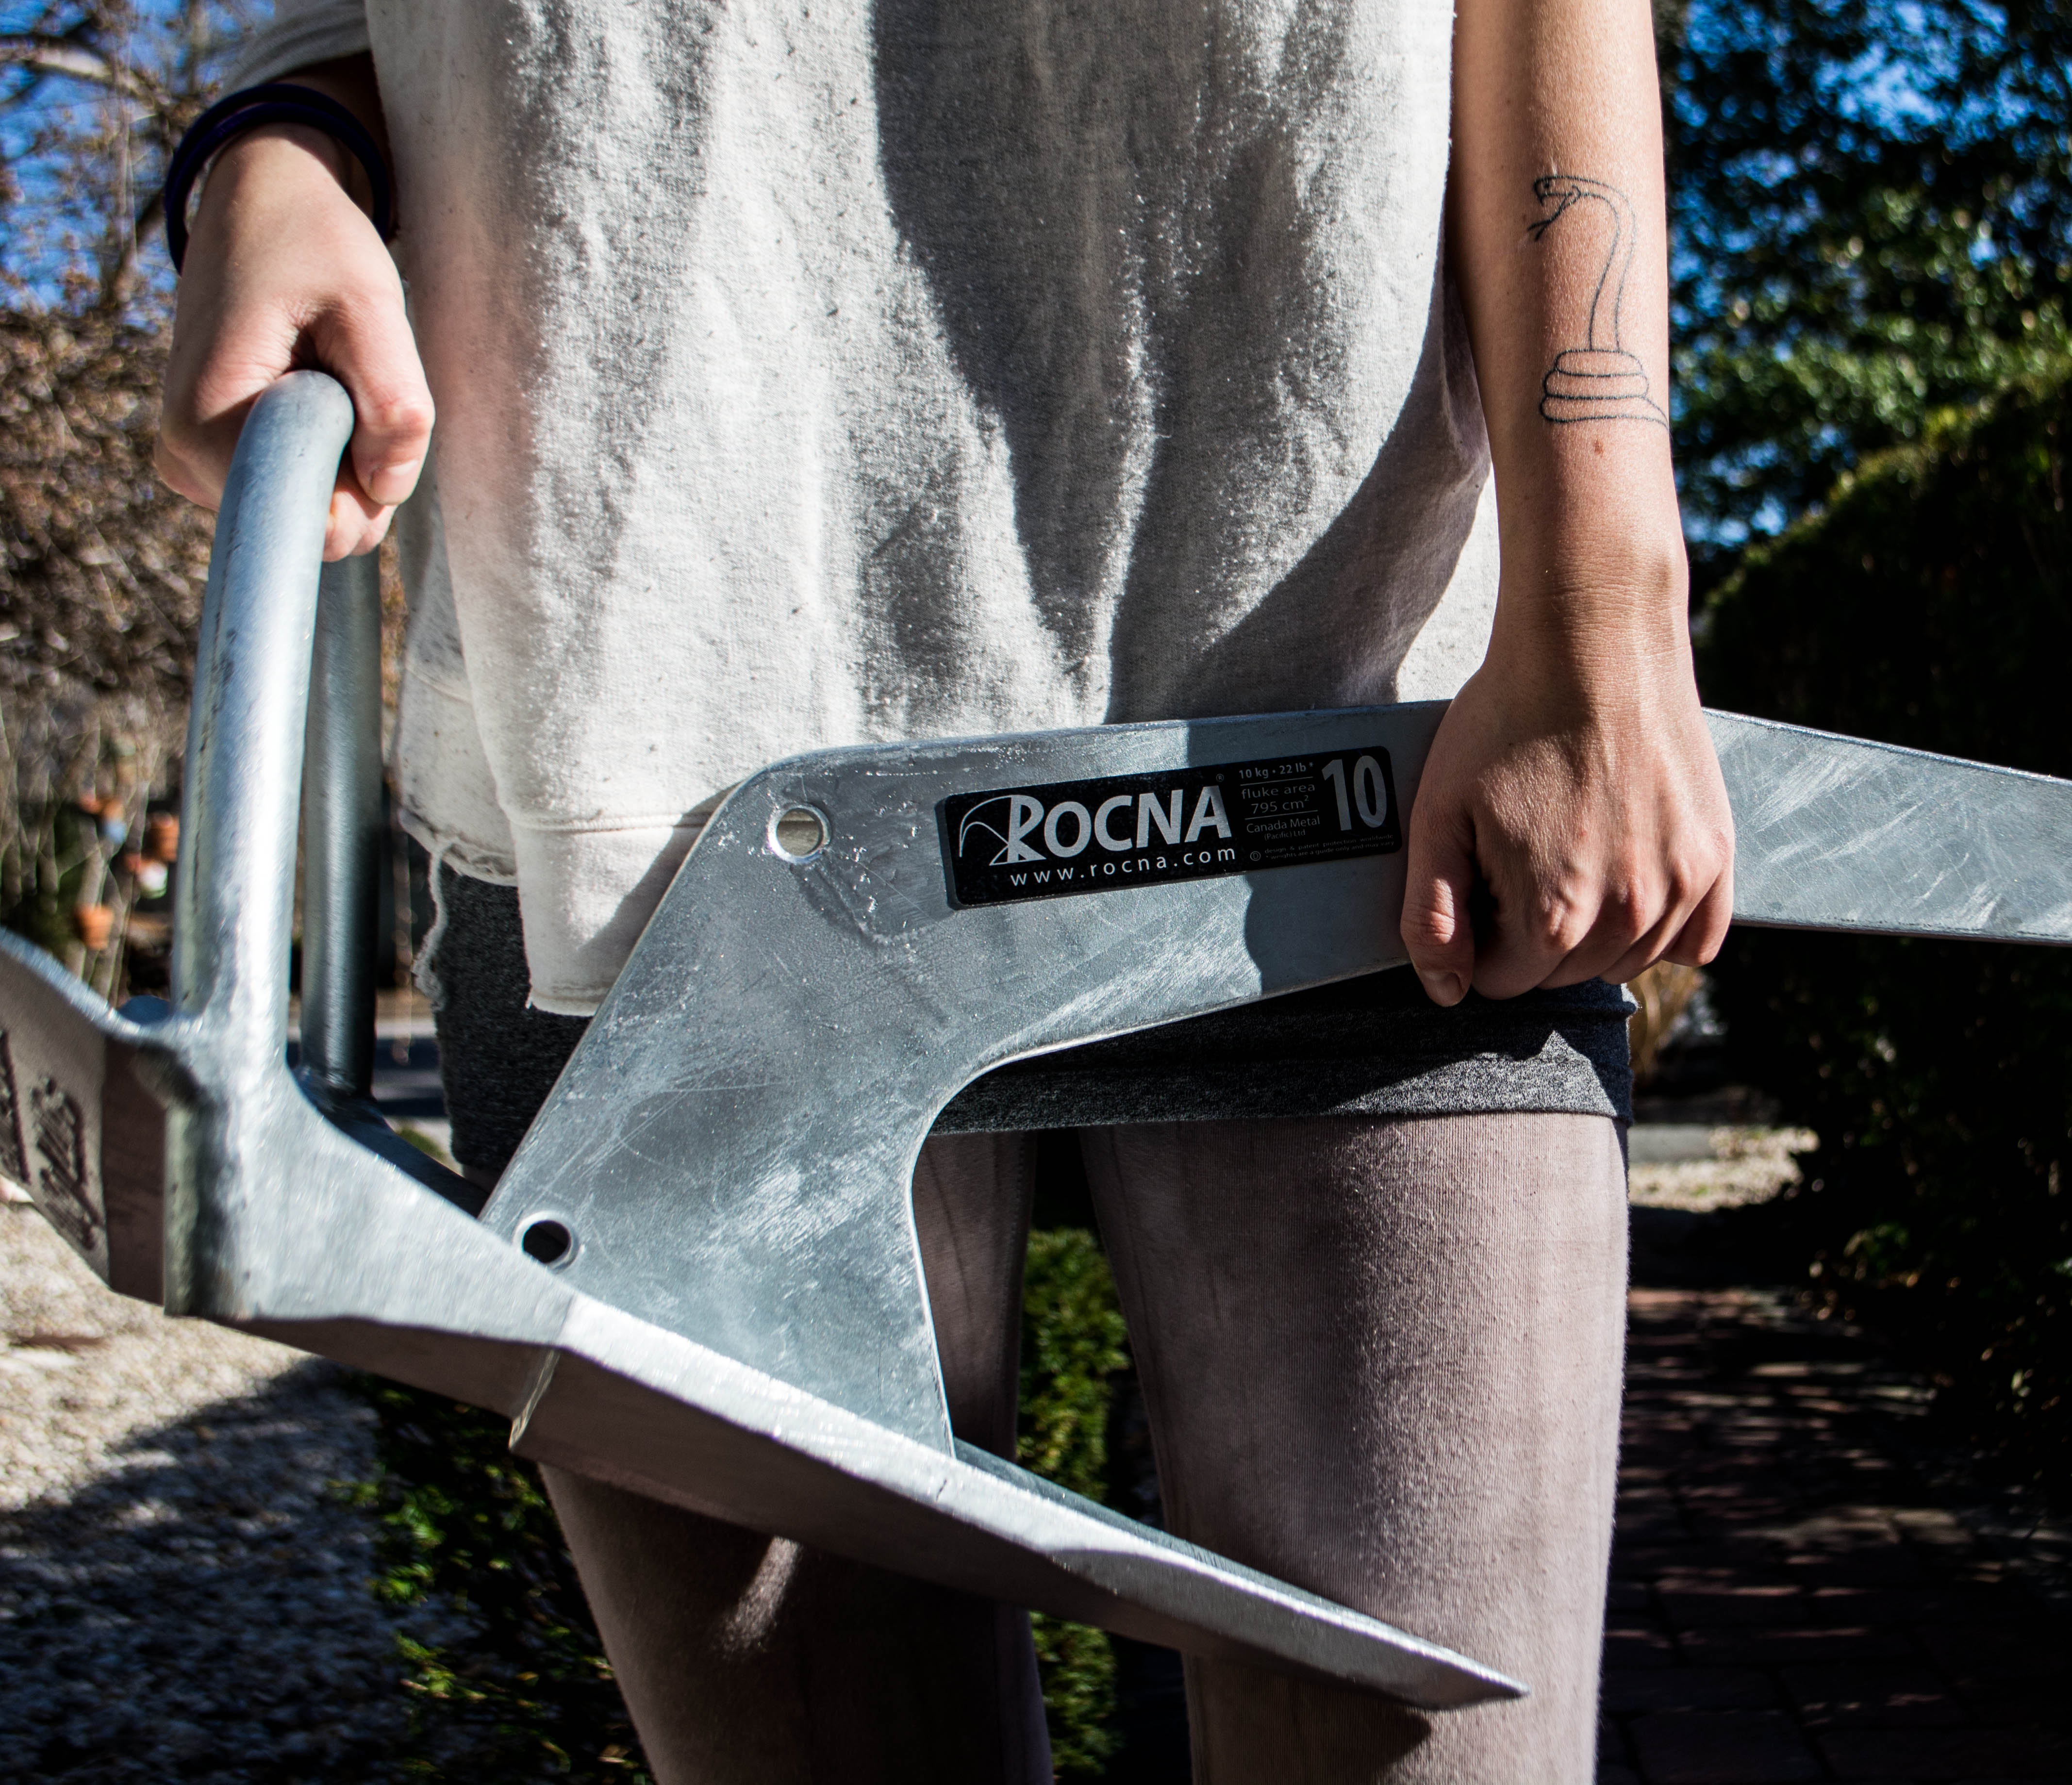
The first three holes were through the deck for my bow roller to store my plow style Rocna anchor. I grew up on Rocna, i.e. the sailboat I spent the most time and learned to sail on had this style hook. I remember sitting in an unprotected anchorage as a gale blew over us, the wind whipping through the rigging so loudly that we shut the forward hatch for a reprieve from the harrowing howl. The anchor never budged. I’ve been a firm believer ever since.

The roller I got required three holes to mount. I drilled the holes oversized and filled them with epoxy. A lot went wrong along the way. The first time the epoxy was so thin that it dripped right through the protecting tape on the bottom of the deck. The second time, though thickened correctly, proved that my original holes weren’t measured correctly–as when I drilled through the cured epoxy my drill still picked up bits of core. At this point the best I could do was to overdose the fittings and hardware with sealant, and hope for the best. It worked out great. I call it the “epoxylypse.”

installing a manual bilge pump

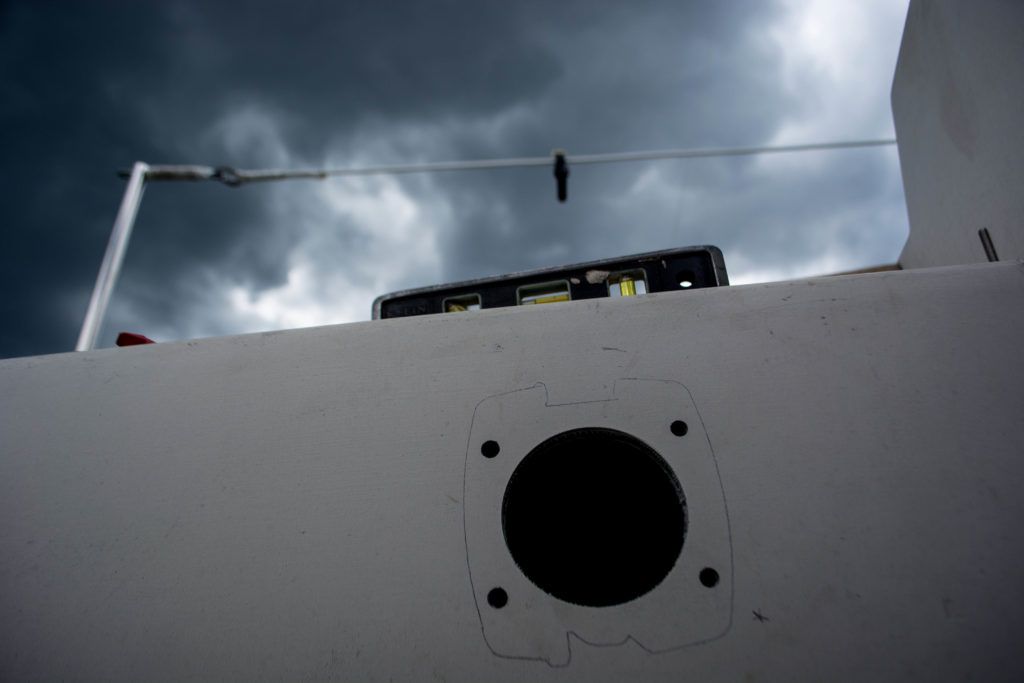
The next project was to install the manual bilge pump. This required a hole through the cockpit/bulkhead, through a piece of plywood that sections off the hanging locker, and finally through the hull (gulp). My boat has been sailed since 1976 with no bilge pump. Tight as a drum (knock on wood), but I wasn’t about to splash my boat without one. The previous owner purchased a Whale Gusher manual bilge pump but never installed it. Luckily, I’ve become friends with the right people who drove me back and forth from the hardware store to get the right hoses and fittings, and are very handy with tools. It took us two hours on two different days but we finally got it installed, and by golly it works! I hope I never have to use it for anything other than condensation or drainage from the anchor locker.

thru hull fitting

I’m a firm believer in take care of your boat and your boat will take care of you. Everyone said the boatyard is miserable, to expect misery, but I’m not so sure. This boatyard is magic. With the help of others, I’ve completed two of the three major jobs that make Anam Cara “seaworthy,” in the opinion of me and my professional marine surveyor. All I have left to do is rebed my starboard chainplate and strengthen the bulkhead it attaches to with a bit of fiberglass. Then it’s little things like brightwork, painting, and a small upgrade to her mainsail. The boat will be ready to splash soon, the only question is… will I be?

Hobby horse

Xtra tufs best sailing bootA 22 pound anchor, a 10 pound anchor roller, 25 feet of chain, and 200 plus feet of line. That’s nearly 75 pounds at the bow of my Bristol 24 sailboat that’s never been there before. Take into account her Johnson 9 horsepower, four stroke outboard engine at the stern, and I’m afraid I might be having some center of effort issues come sailing time.

When I was a kid I was obsessed with animals, I still am, but my parents liked to keep a fur free home. When I asked for a dog, I got a bunny. When I asked for a pig, I got chickens. When I asked for a horse, I got a hobby horse. One of the plastic kinds you see outside midwest grocery stores that dips up and down from forward to back. A fun sensation when you’re a kid, not so much when you’re a sailor.

My quasi plan to right this inevitable issue is to add more weight mid ship, most likely in the form of canned goods, rice, and water. But I have a theory…

When clambering through the lockers I saw some removable bars of ballast. I think they are led, or iron. When I asked the previous owner what was up with these he said they came with the boat and he always just left them in that spot, mid ship.

“I think personally, though, she’d sail better with that weight up in the bow,” he said.

This leads me to believe that with the engine aft, external ballast mid ship, and the added ground tackle weight forward, she might just sail like a balanced boat rather than a bucking bronco.

Boat buying tips from an idiot

Rocna girlThe universe loves me! Then it hates me. I send a text to my friend the local bay constable. He’s got a shed full of marine junk. He gave me a piece of teak I’m going to cut and use as a block for my bow roller, so it sits flush on deck. It’s a shot in the dark, “have any old life jackets laying around you want to sell me?”

I’ve recruited my cousin to come out with me on a test row of the $100 inflatable dinghy next nice day we both have off, and I need two life jackets before we can do that.

I’m at the DMV legally making the boat mine. I got the signed contract from the seller weeks ago and just signed it the other day. It felt weird, signing it. No turning back now. I get a text about the life jackets. Yes, he has some I can have. Have. Surely I’ll throw him a couple of bucks, but there’s no need. He gets a big box each year at work, and gives them out to people. I walk out of the DMV, sure that my number won’t be called anytime soon, and he’s there in a police truck. It’s funny. I always just assume cops won’t like me. Like they can sense my anti-authority demeanor from the way I dress, or walk or something. But this cop likes me. He’s a sailor.

Two brand new life jackets and I’m on top of the world! My faith in humanity restored, as it so often is on this journey. I thank him profusely. We chit chat about bottom paint and the splice I’m going to use on my ground tackle, which is arriving today!

The line at the DMV moves fast. It’s the best day ever. I know my new anchor is going to be on the stoop when I get home. I just got two free coast guard approved life jackets. I actually have all the correct paper work to get the boat put into my name. I see my number come up on the screen and jump to my feet before it’s even called.

A few cracks on the stapler later and she gives me the total. Still smiling, I hear her say, “That’ll be 300 and something dollars.”

WHAT. My jaw drops. I’m confused. Registration isn’t that much!

Tax. Bloody sales tax. I forgot the old buying a used car trick. Put a lower number on the bill of sale.

File it under boat buying tips from an idiot.

Navigation for small sailboats

Navigation aboard small sailboatsIf it ain’t broke don’t fix it, but what if a system can be improved? Part of the satisfaction that comes from messing about in boats is maintaining and fixing things onboard yourself. Personally I can’t wait to be arm deep in some epoxy, scraping old bits of bottom paint off, careening the aisles of hardware stores looking for the perfect screw. I’m also really excited to make improvements, which is where I think a great chunk of this supposed gratification will come from.

I can’t move aboard my boat until May, when she’s finally defrosted, and I’m currently dwelling, working, and saving money for her outfit hundreds of miles away from where she lay. While I eagerly wait for the season to be conducive I’m gathering tools, materials, and ideas for when I begin. I’ve put navigation at the top of the list (anchoring is second, but more on that later).

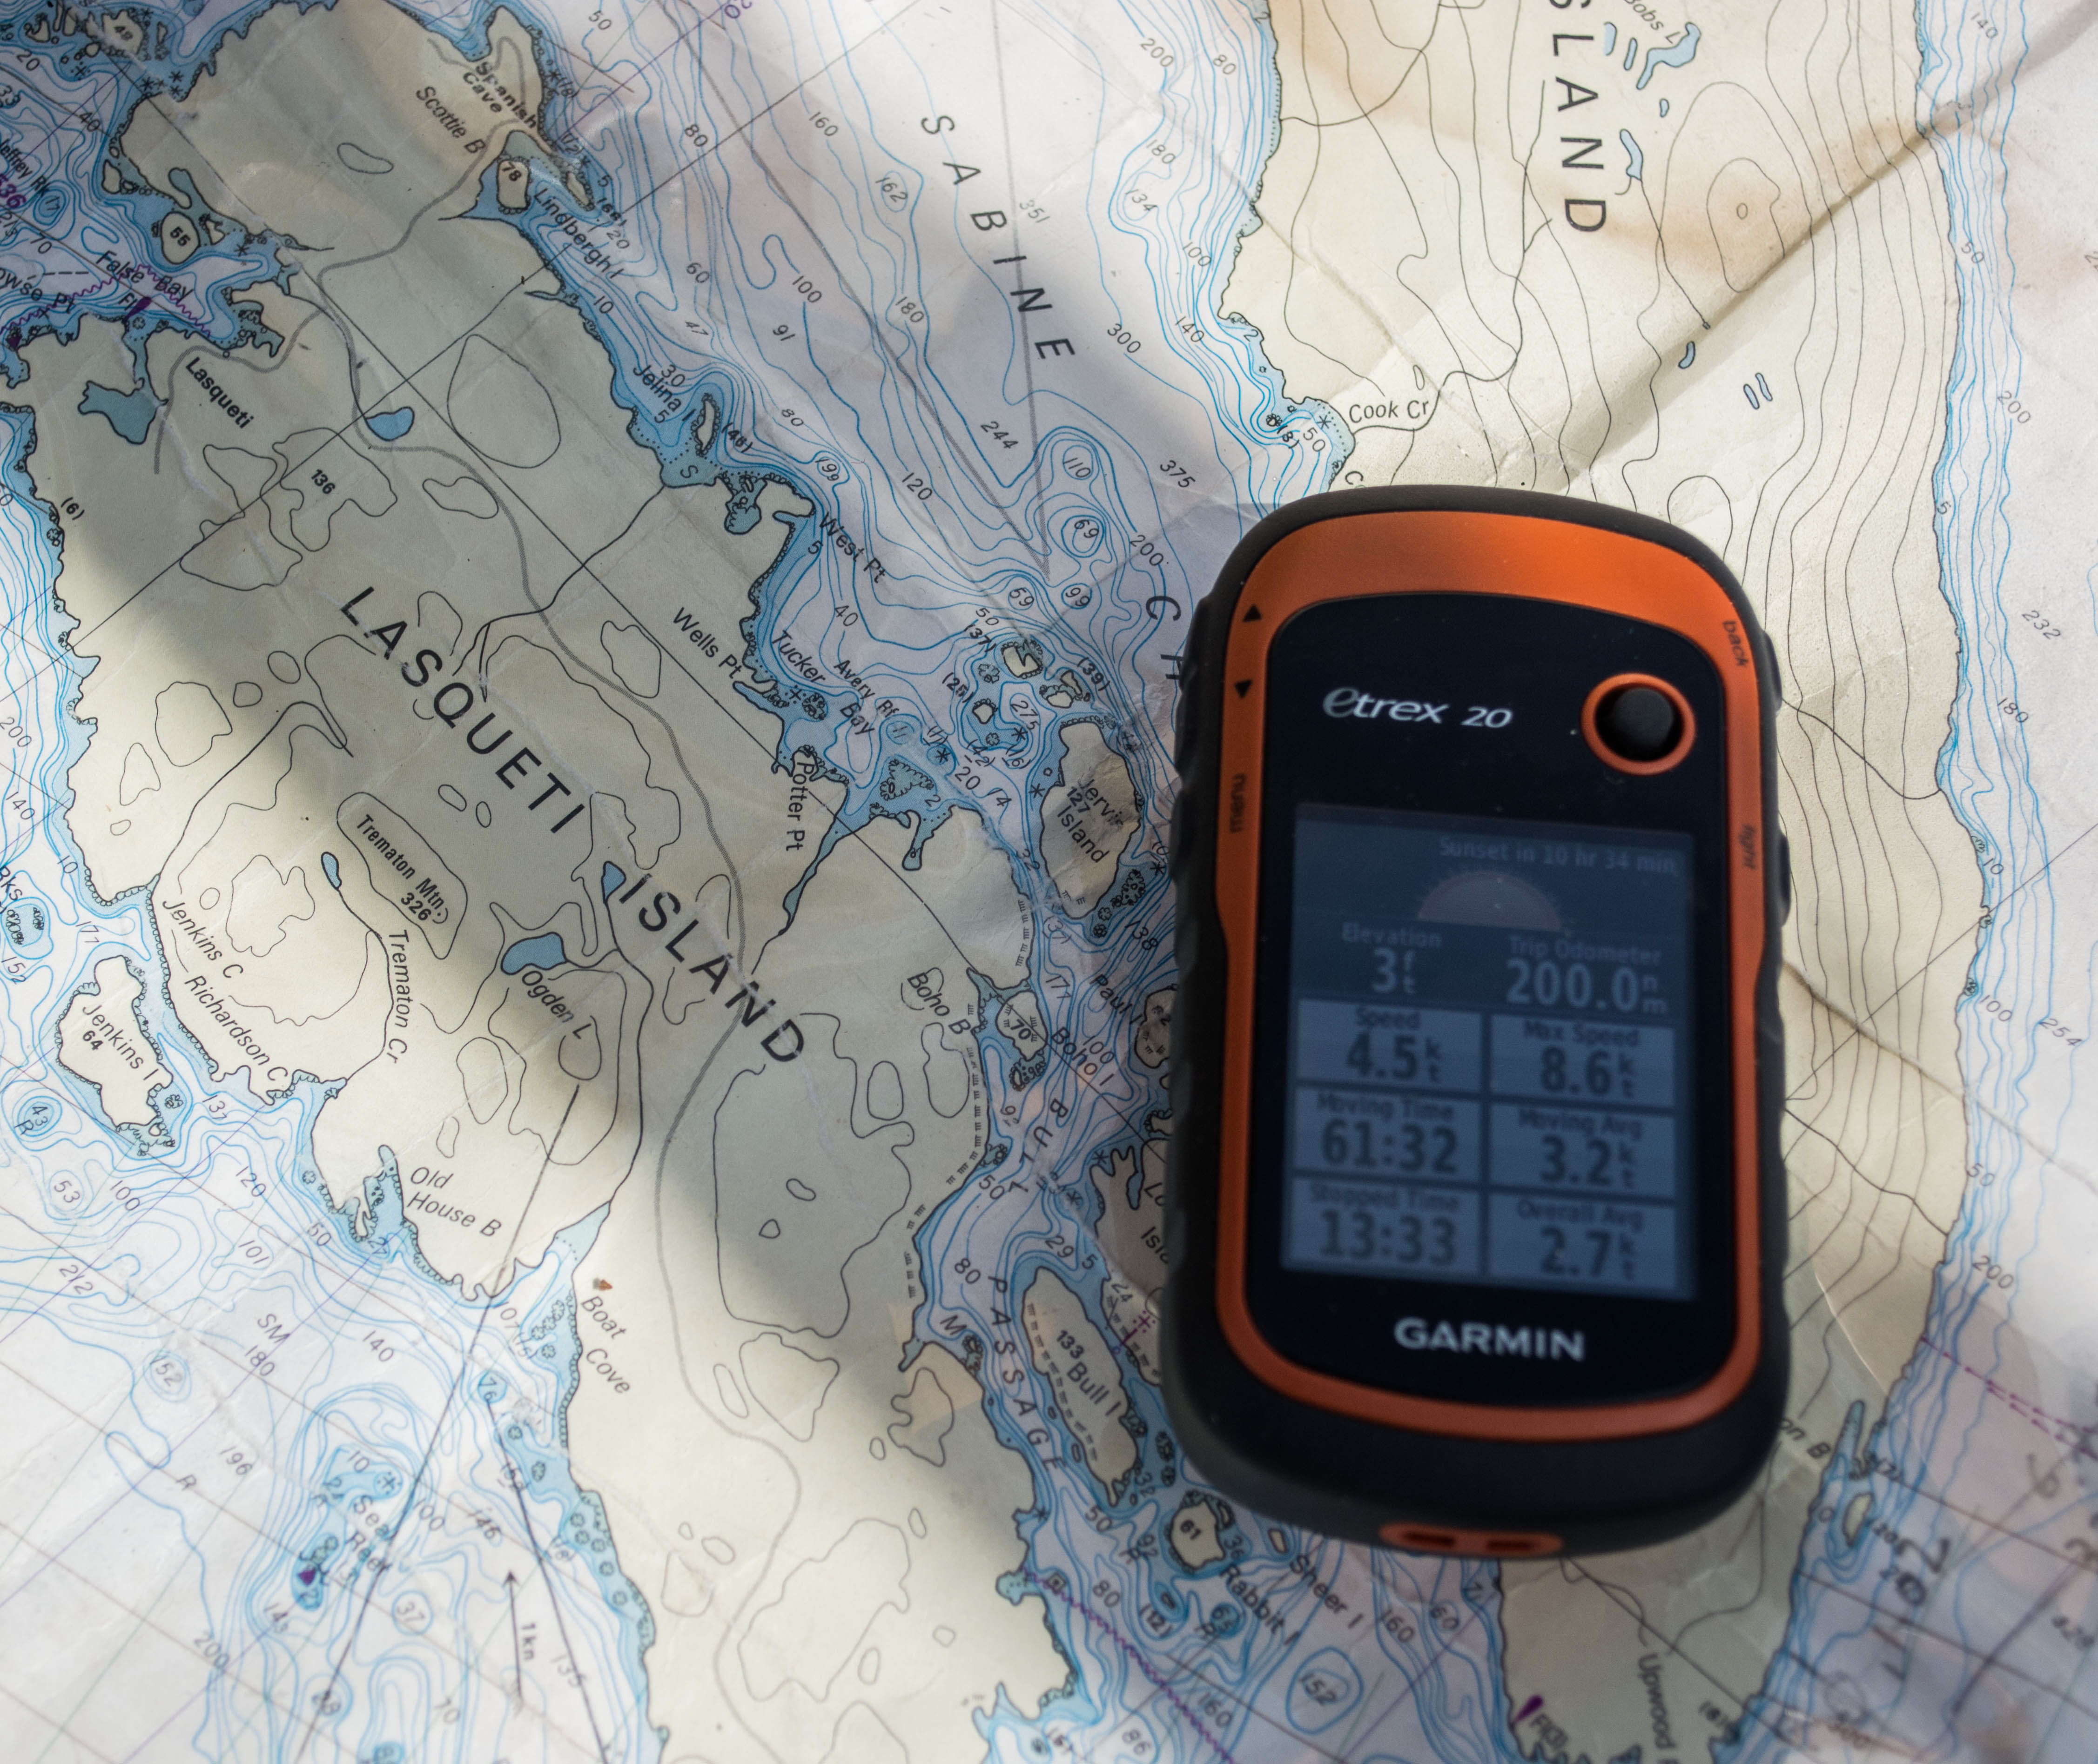
When I lived aboard and sailed on a 22-foot-sailboat in the Pacific Northwest for over a year, I got the lesson of a lifetime in keeping things simple, and I’ve held on to that with a fierce grip. For navigation in inland waters we used good old classic paper charts, and as our secondary system (okay, maybe it was the primary sometimes) we used a handheld GPS. It was beyond adequate.Handheld GPS for sailing navigationCharts were used for route planning and as a point of reference when sailing from point to point. The GPS was used to double check we weren’t heading straight for any rocks, were entering harbors the right way, to check speed, and sometimes to help when we were, for lack of a better word, lost, and had trouble determining which island was which.

I’ve reached out to a few sailing mates and all have had really excellent advice on what kind of equipment to use, and both recommended using a device like an Ipad and a software like Navionics, which you apparently don’t have to be connected to data in order to use.

I’m not so convinced though. In the future I want to outfit my boat with solar, but for now she runs on a 12V system that can only be charged by the alternator on the outboard engine. I like that the handheld GPS runs on disposable batteries. I like that it has a tiny screen that I can barely see, which forces me to reference my charts more often.

I’d like to update to a more modern navigation system in the future, but when I move aboard my boat everything will be new and this simple system of navigation will be familiar. I like that, too.

Bugout knife

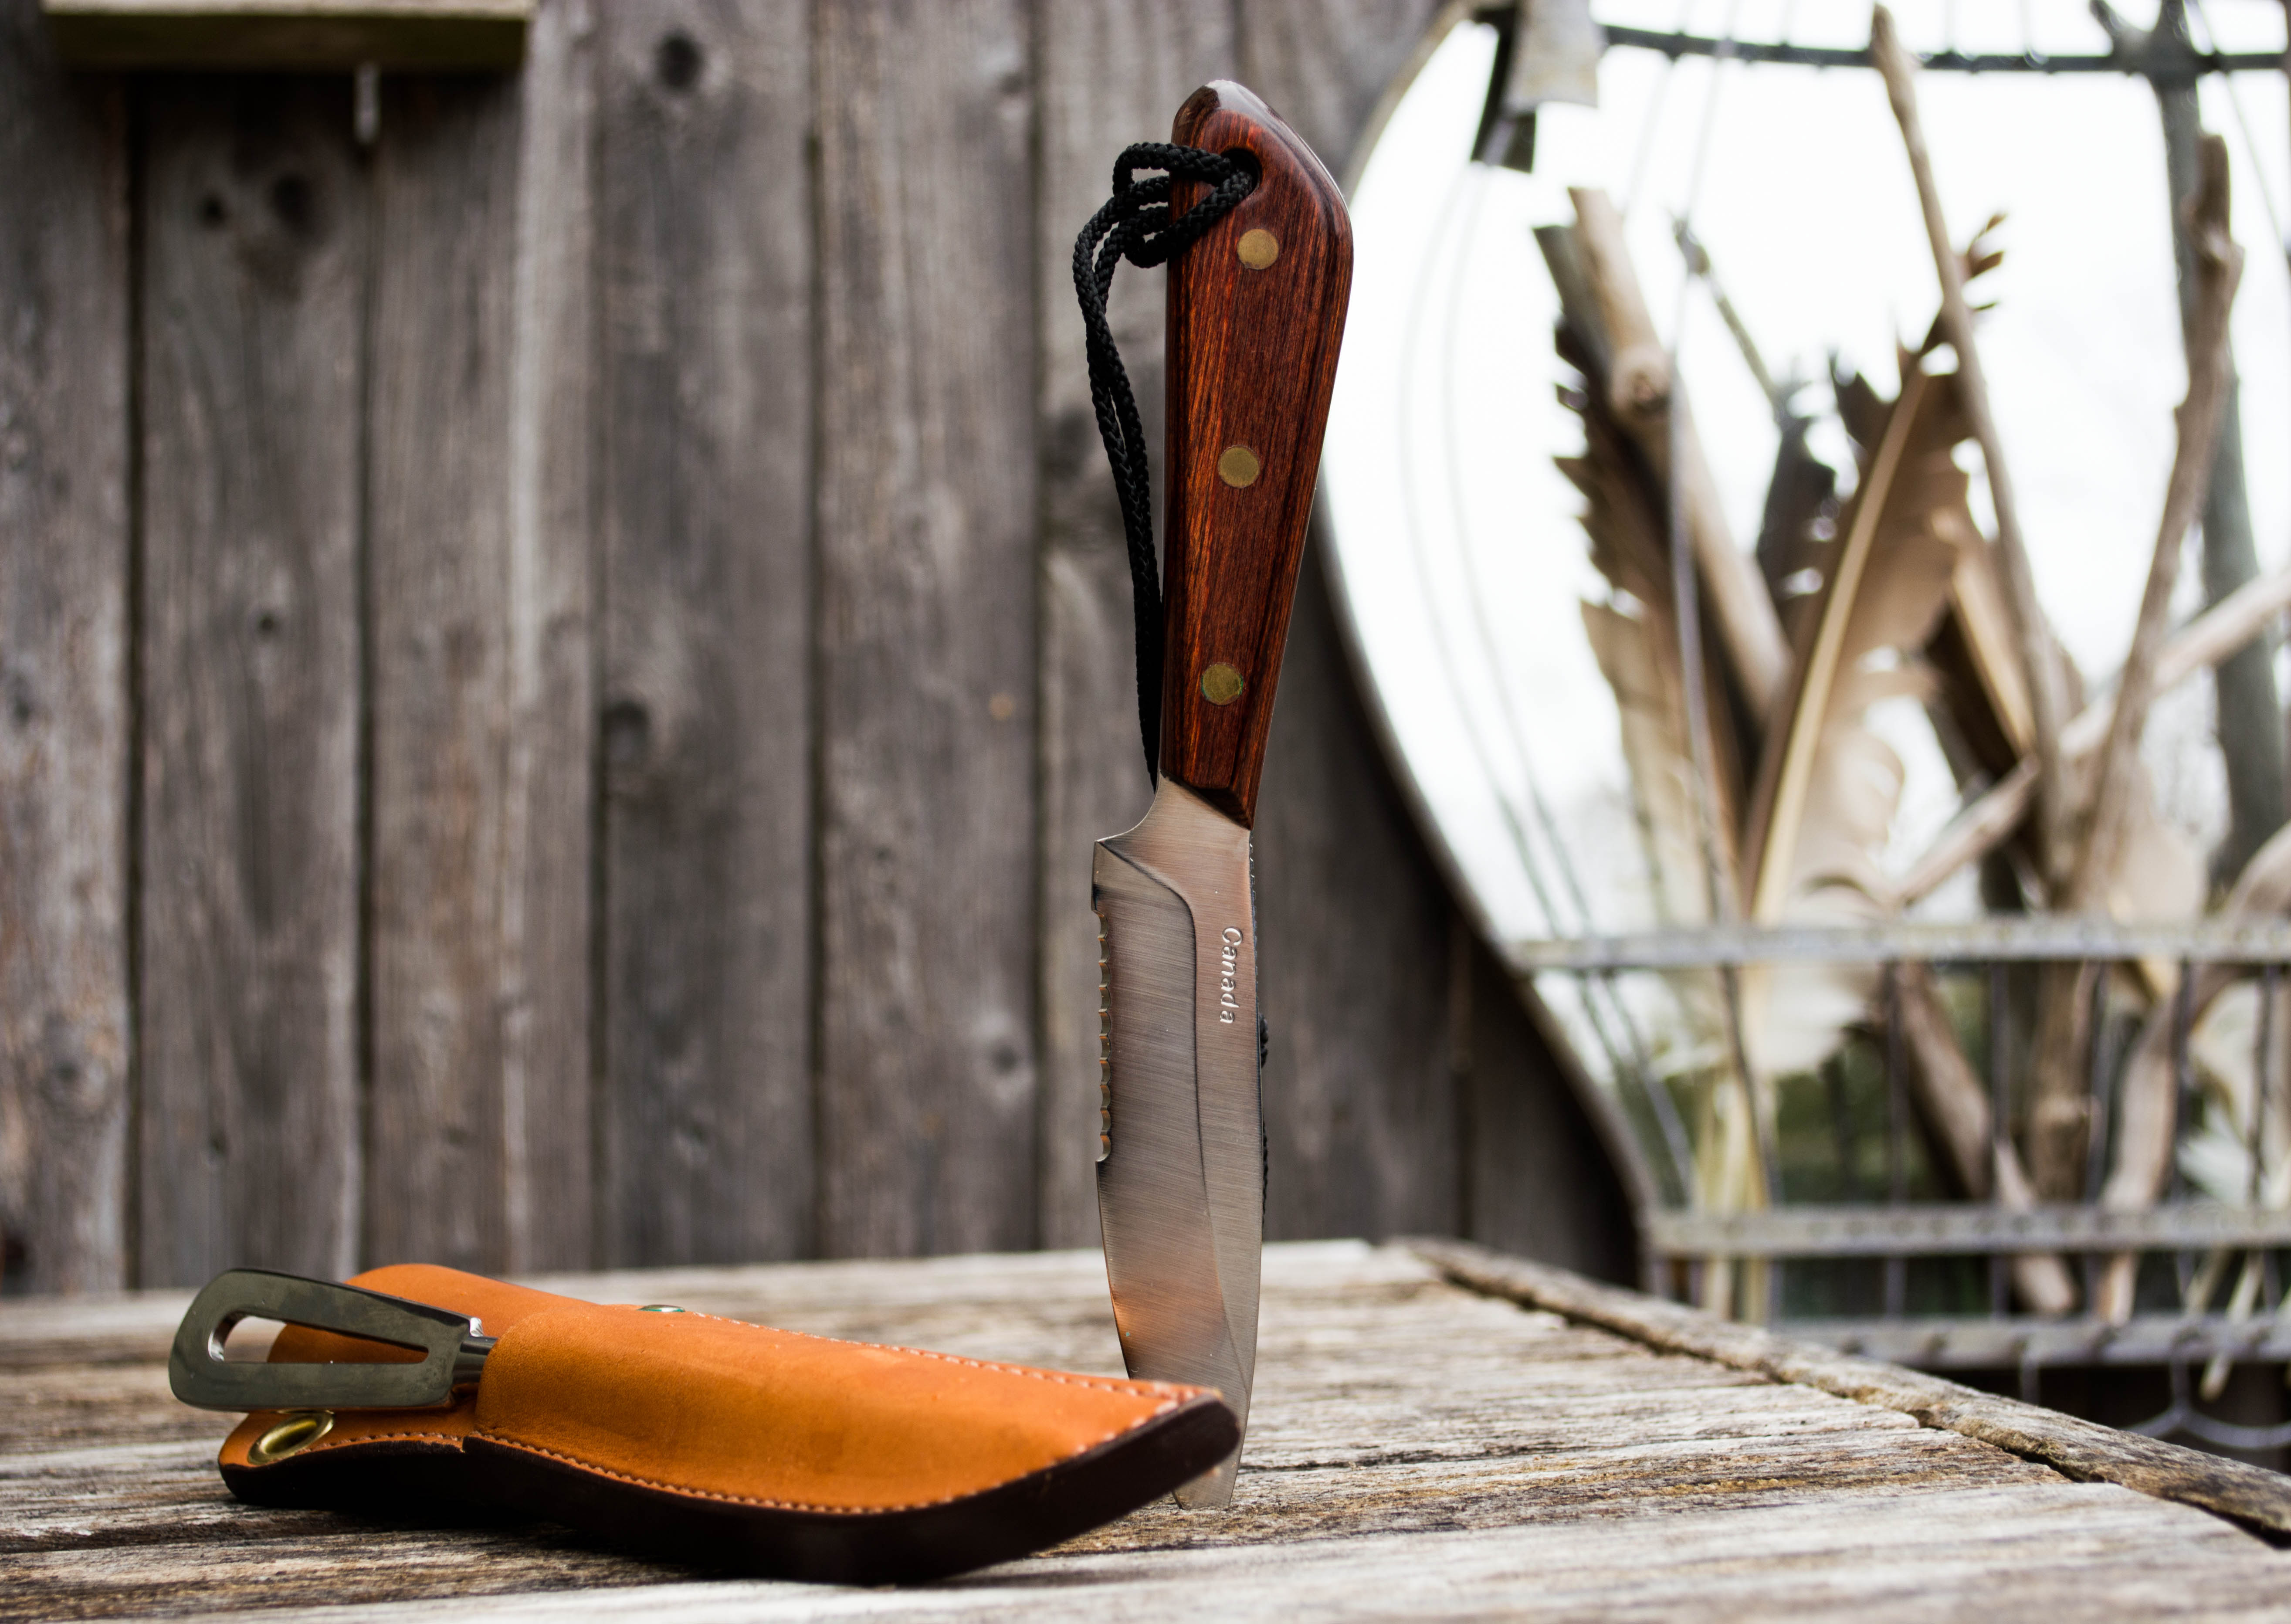
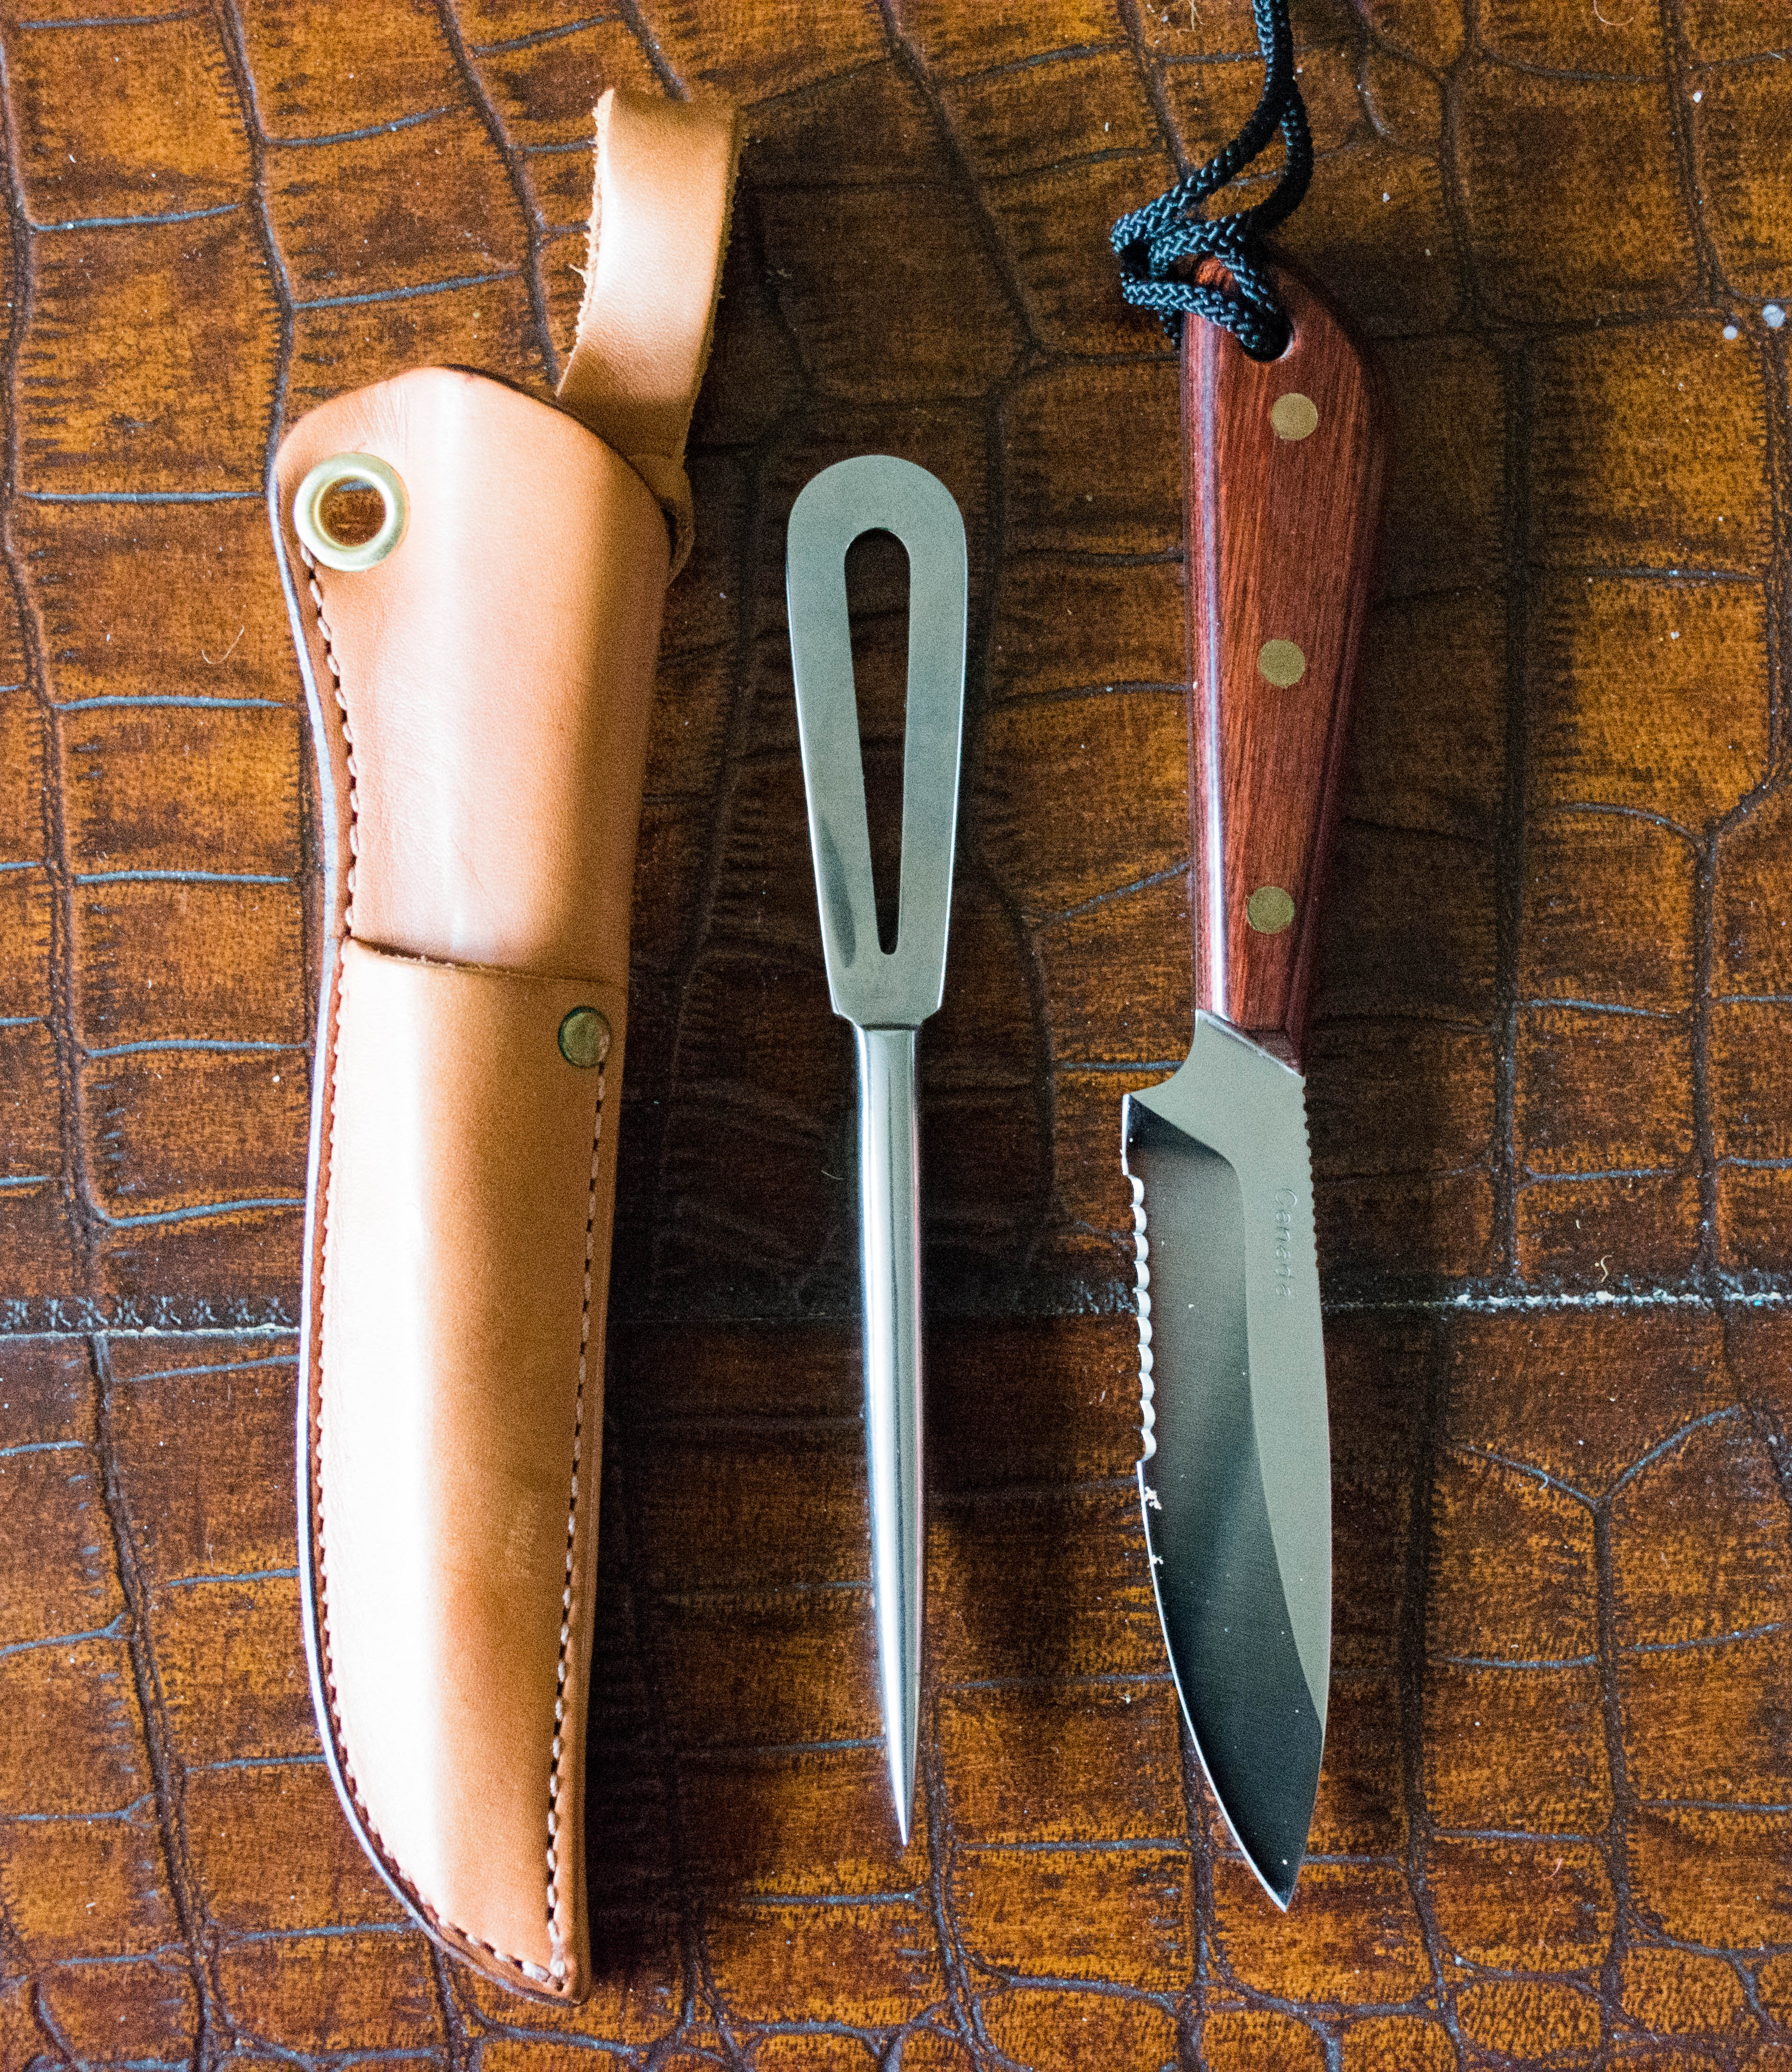
Grohmann Outdoor KnifeKnives are like sailboats, take care of them and they will take care of you. Whether you’re carving a kazoo out of drift wood, opening a package from Amazon, splicing line for your new anchor rode, foraging for a meal in the forest, warding off a Sasquatch, or simply cutting cheese, a good knife is an essential tool. To me a good knife represents thinking ahead, awareness, and the backup plan your hope you never have to use.Grohmann Outdoor KnifeThese qualities also coincide with good seamanship so it’s only fitting that every sailor has a knife, or several, aboard their vessel or in their pocket, easily accessible for that moment they need it.

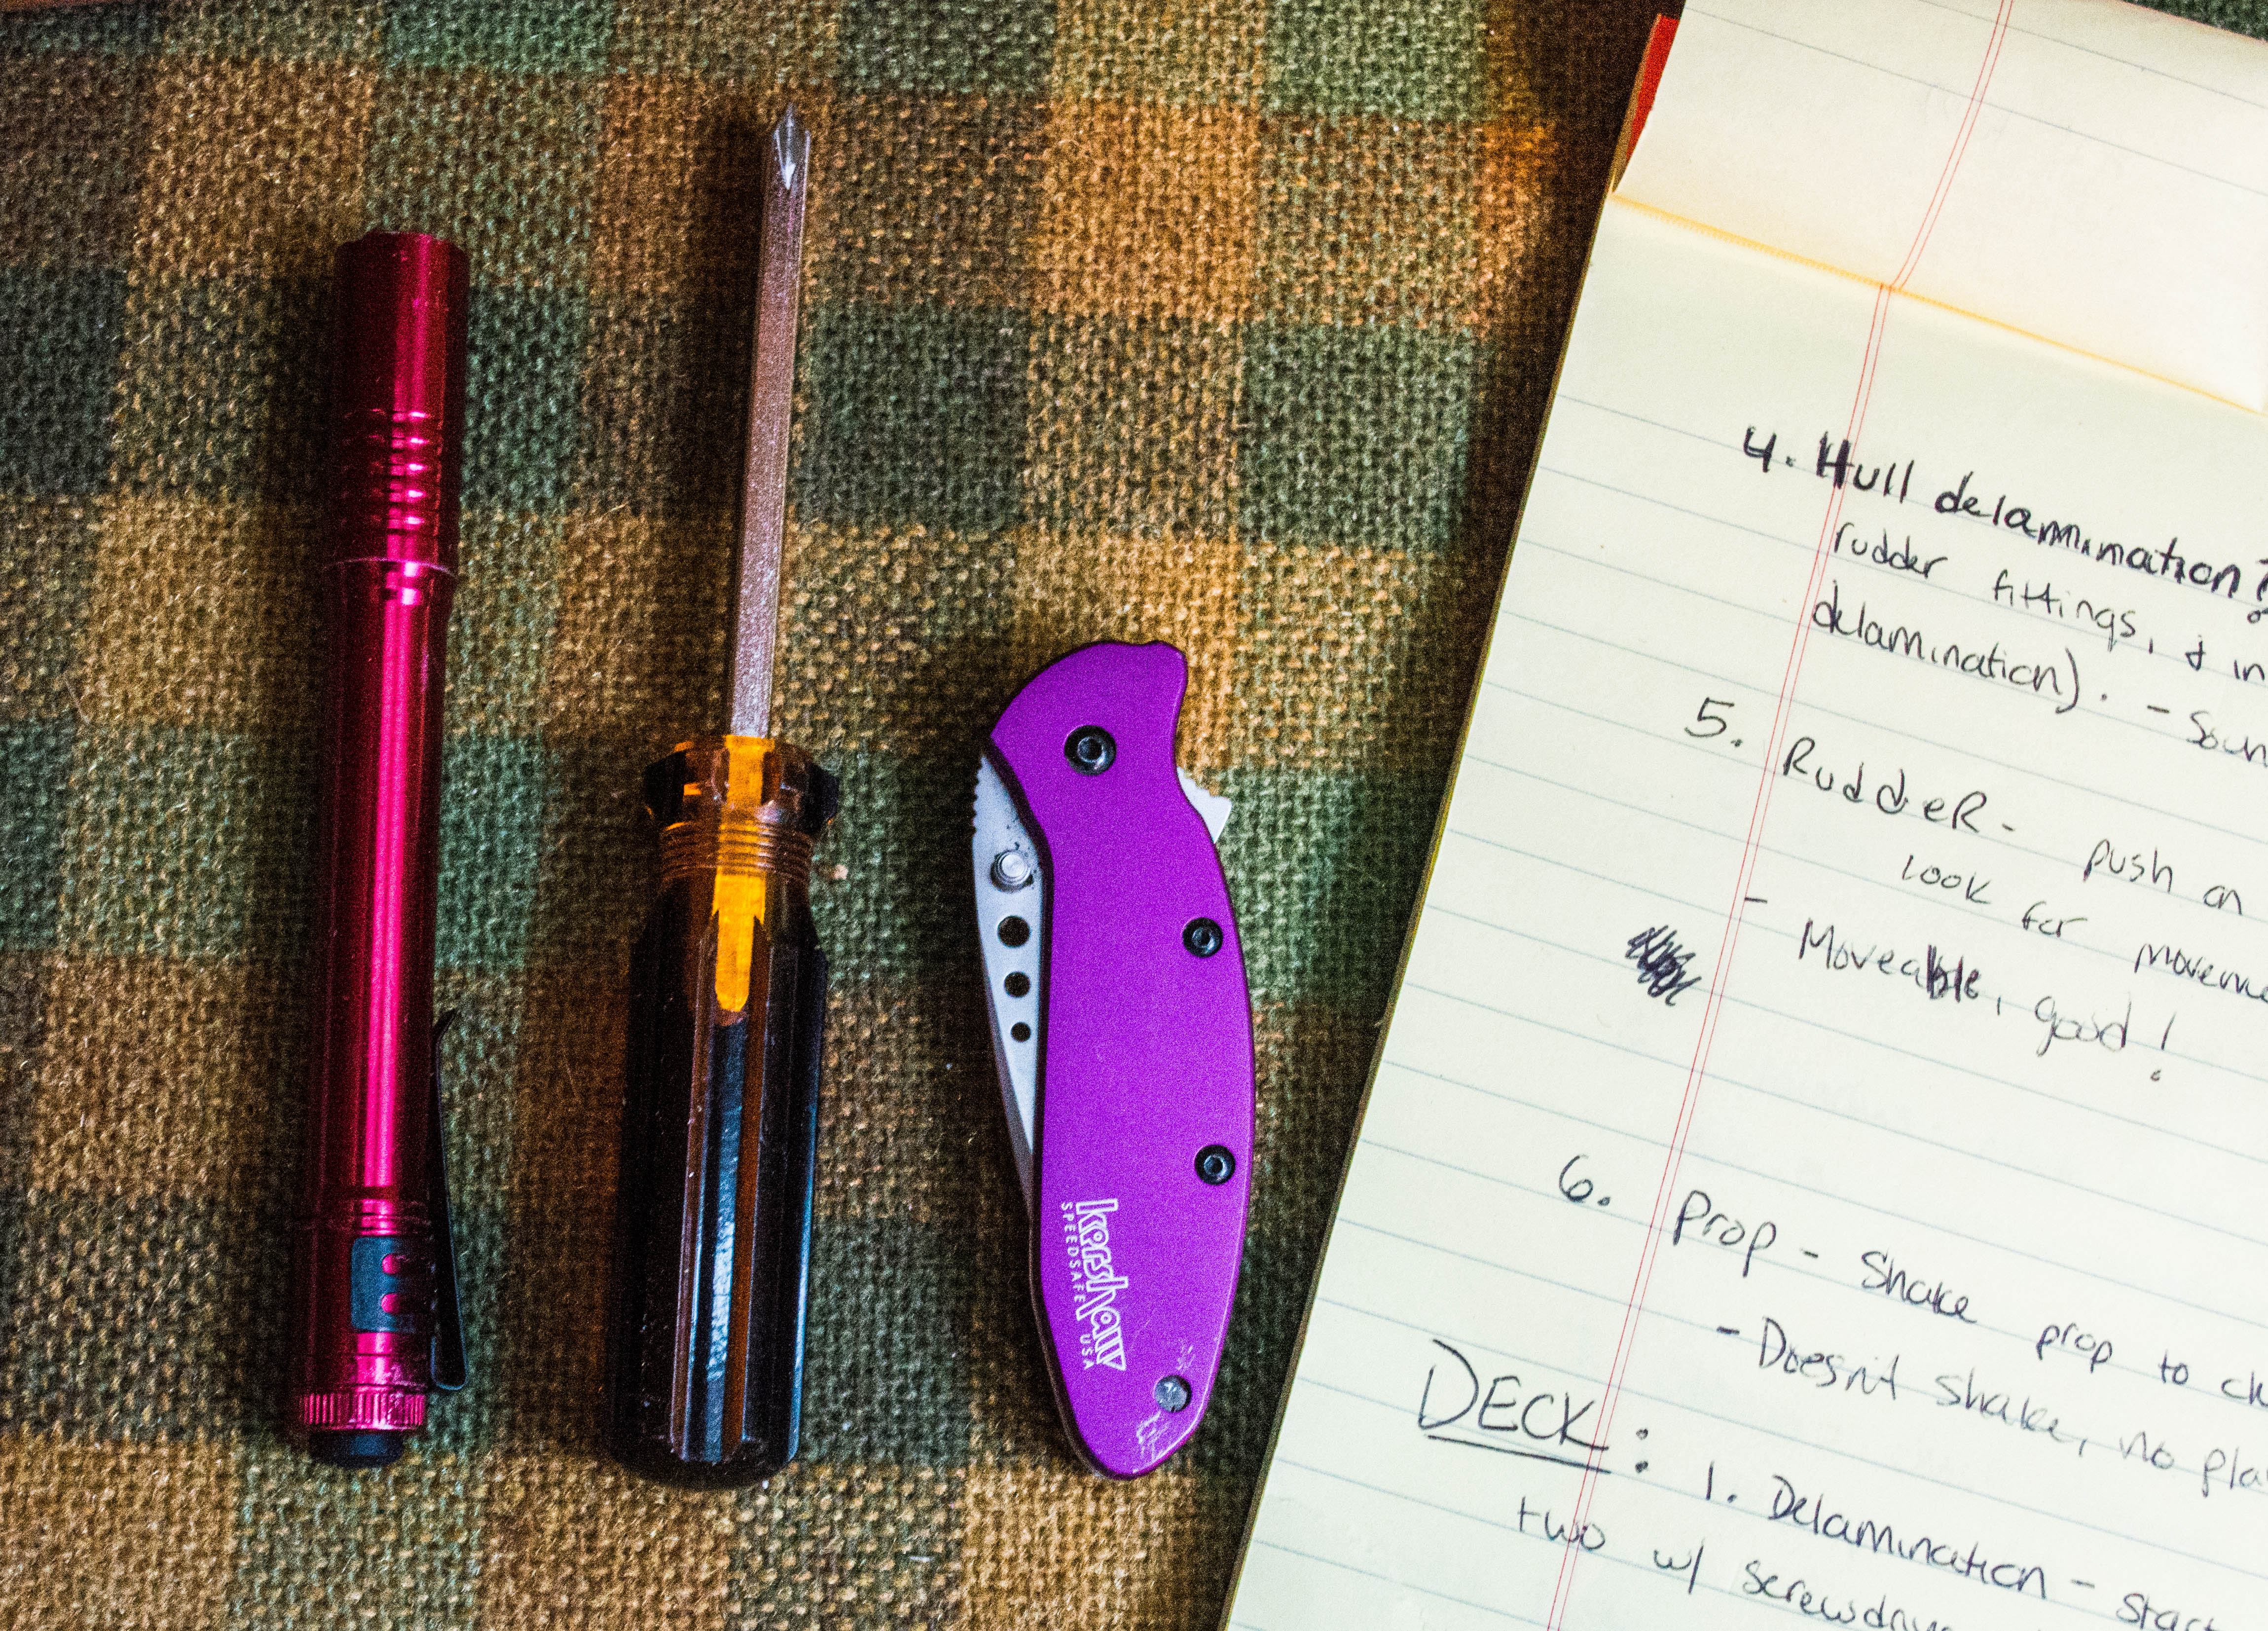
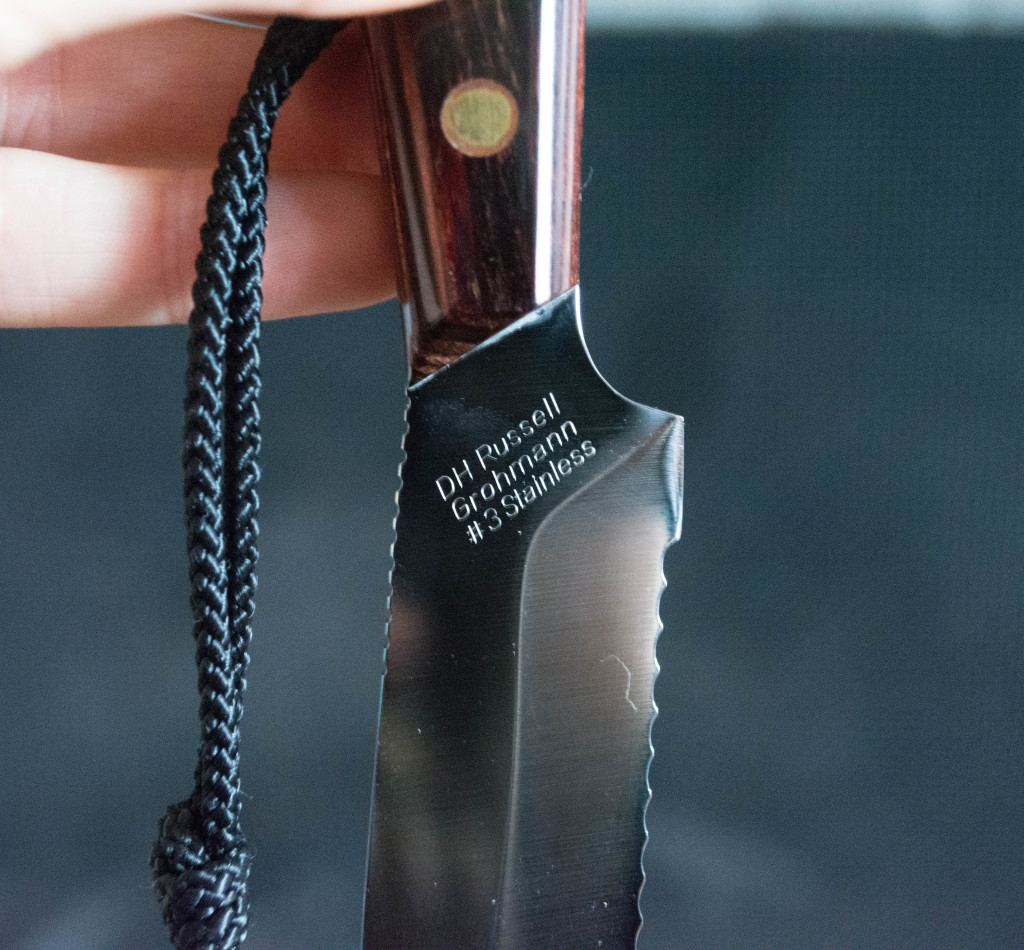
My first knife was a Kershaw folding blade. Purple, small, and badass. I loved that knife, and still do. I used to cut apple slices at my desk when I worked for a newspaper, just so I could play with it. I carry it with me in my backpack wherever I go, ’cause you never know when you might need a knife. Maybe someone’s shoe lace is too long. Self-survey toolsI got a small package in the mail the other day, and of course used my pocket knife to open it. Within the confines of the box was a beautiful, shiny, sharp new knife in a leather sheath that smelt of new cowboy boots. This was not just any knife, this was a Grohmann Knife. Handmade by a small family company in Canada, these are the knives issued to members of the US Coast Guard. Sea knives.20160223-DSC_4866While my little Kershaw will always be in my pocket, my Grohmann will be tucked into its holding place just inside my boat’s cabin, close to the cockpit, and never far from reach.

A huge thanks to one of this blogs’ original fairy godfathers for gifting me this beautiful blade!